
Quick answer
Obtain the exact fitting instructions and approved cut-out, coordinate a supported timber panel and protected cable route, then test one assembled headboard before repeat installation.
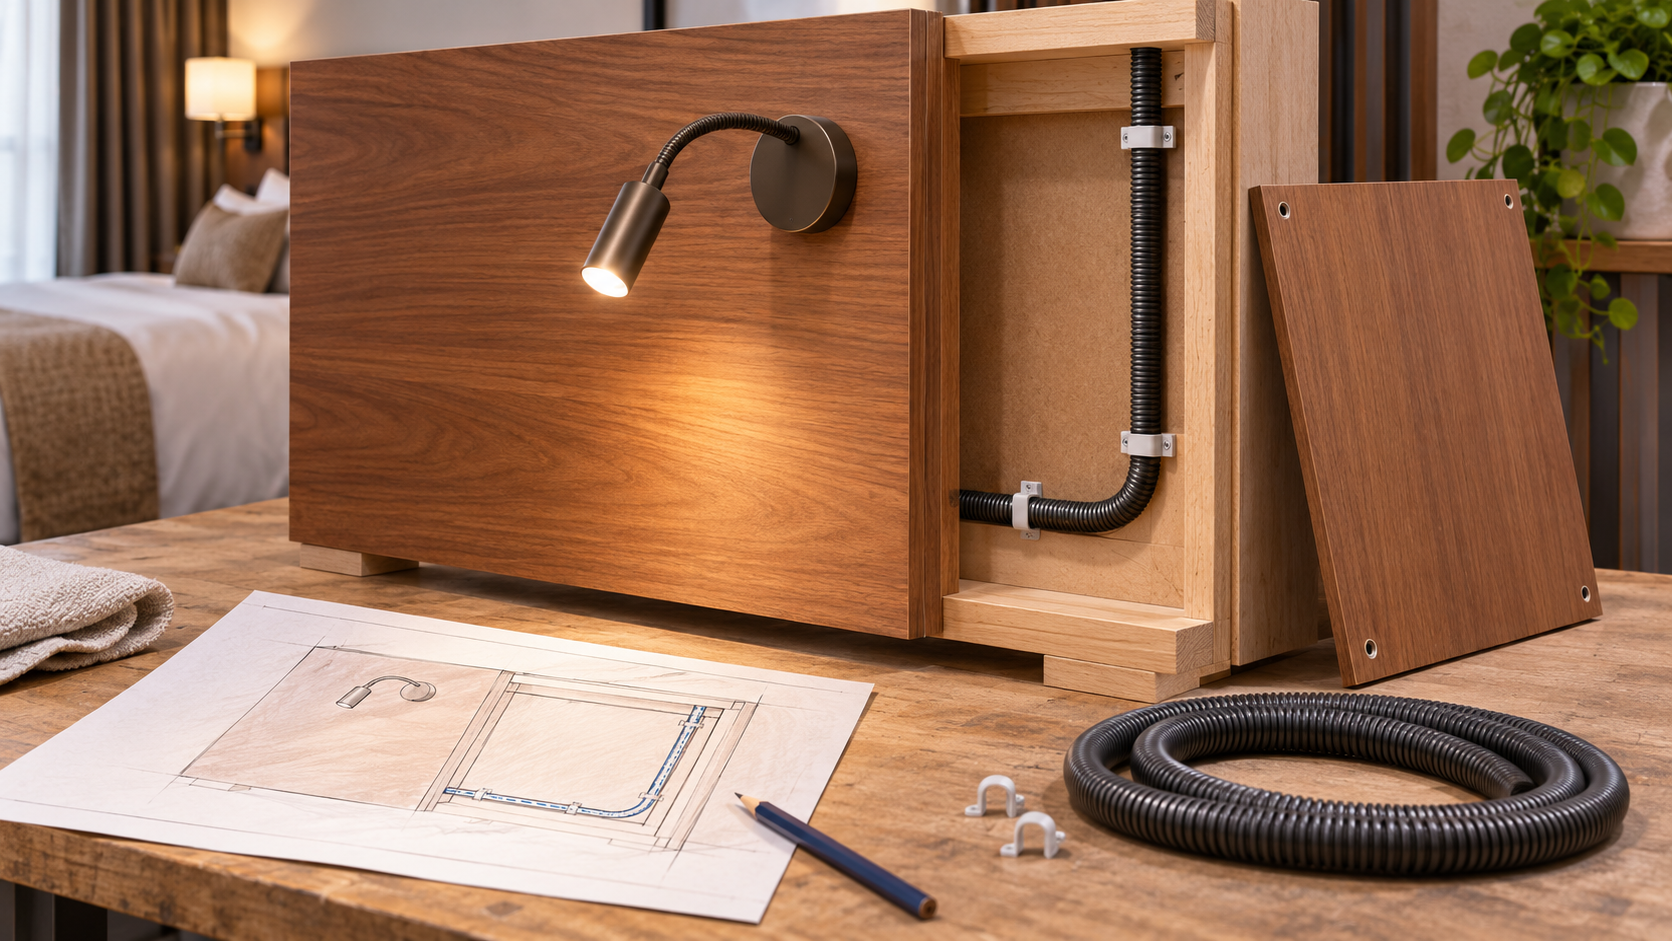
How to install reading lights on wooden headboards is a coordination question before it is a site task. The installer needs the exact fitting instructions, an approved opening or bracket, a supported panel, a protected cable path and a way to service the light later. Timber veneer, solid timber and composite boards behave differently at edges and fixings. Do not cut a production headboard from a product photograph or an unverified overall dimension. Build and inspect one representative assembly with the joiner and qualified electrician before repeating the detail.
Identify the panel and the fitting
Start with the headboard shop drawing: substrate, veneer thickness, internal frame, removable sections and clearance behind the face. Mark where the reader sits and where the light must aim. Confirm the model and version being ordered. A recessed body needs a verified cut-out, depth and fastening method; a surface-mounted light needs a stable backing and cable entry. The headboard placement guide covers the guest-side geometry.
For example, MD-WL-Y135 is a recessed adjustable 3 W reading light. Its fact lock provides an overall size and beam information, but the cut-out and dimension axes remain unverified. An overall envelope is not permission to cut timber. Request the signed installation drawing or a sample template for the exact revision, and confirm any heat, ventilation or minimum-clearance requirements directly with the manufacturer.
Protect the cable and the finish
The electrician should establish the approved supply and connection method for the destination market. The joiner then reserves a route that avoids sharp edges, staples, moving bed hardware and later fixings. Where a cable passes through a panel, the project detail must specify suitable protection and strain relief. The guide cannot specify wiring sizes or protective devices without the approved electrical design.
Finish the opening so veneer is not torn at the visible edge. Check whether a faceplate fully covers the cut edge without requiring improvised filler. Keep any driver or connector in an accessible location permitted by the product instructions. Hiding a joint permanently behind a fixed upholstered panel creates a maintenance problem even if the first room works.
Assemble and inspect one sample
Use a spare panel or prototype section with the real substrate and finish. Fit the light with the specified support. Check that the head moves without scraping the timber, that the visible flange sits flush and that the electrical team can remove the unit without damaging the panel. Test the switch from the pillow and check the beam on a book. Inspect the neighboring pillow for glare.
Record the exact drawing revision, approved opening, fixing method and route in the room sample file. Photograph the back of the panel before closure so future maintenance teams can locate the connection. Label any temporary component in the prototype; do not approve an appearance sample as an electrical production assembly.
Release the repeat installation
The joinery shop and electrical contractor should receive the same final detail. Agree who cuts, who supplies brackets, who connects, and who checks the first completed room. If a timber finish, substrate or fitting revision changes, repeat the relevant fit and thermal review. The wiring-through-headboards article provides a broader route checklist. The final acceptance should cover appearance, movement, control, electrical documentation and future removal, not only whether the lamp turns on.
