
Quick answer
Give the prototype a controlled fixture schedule and pass/fail task list; test the exact ordered lights, controls, finishes and installation interfaces before approving repetition.
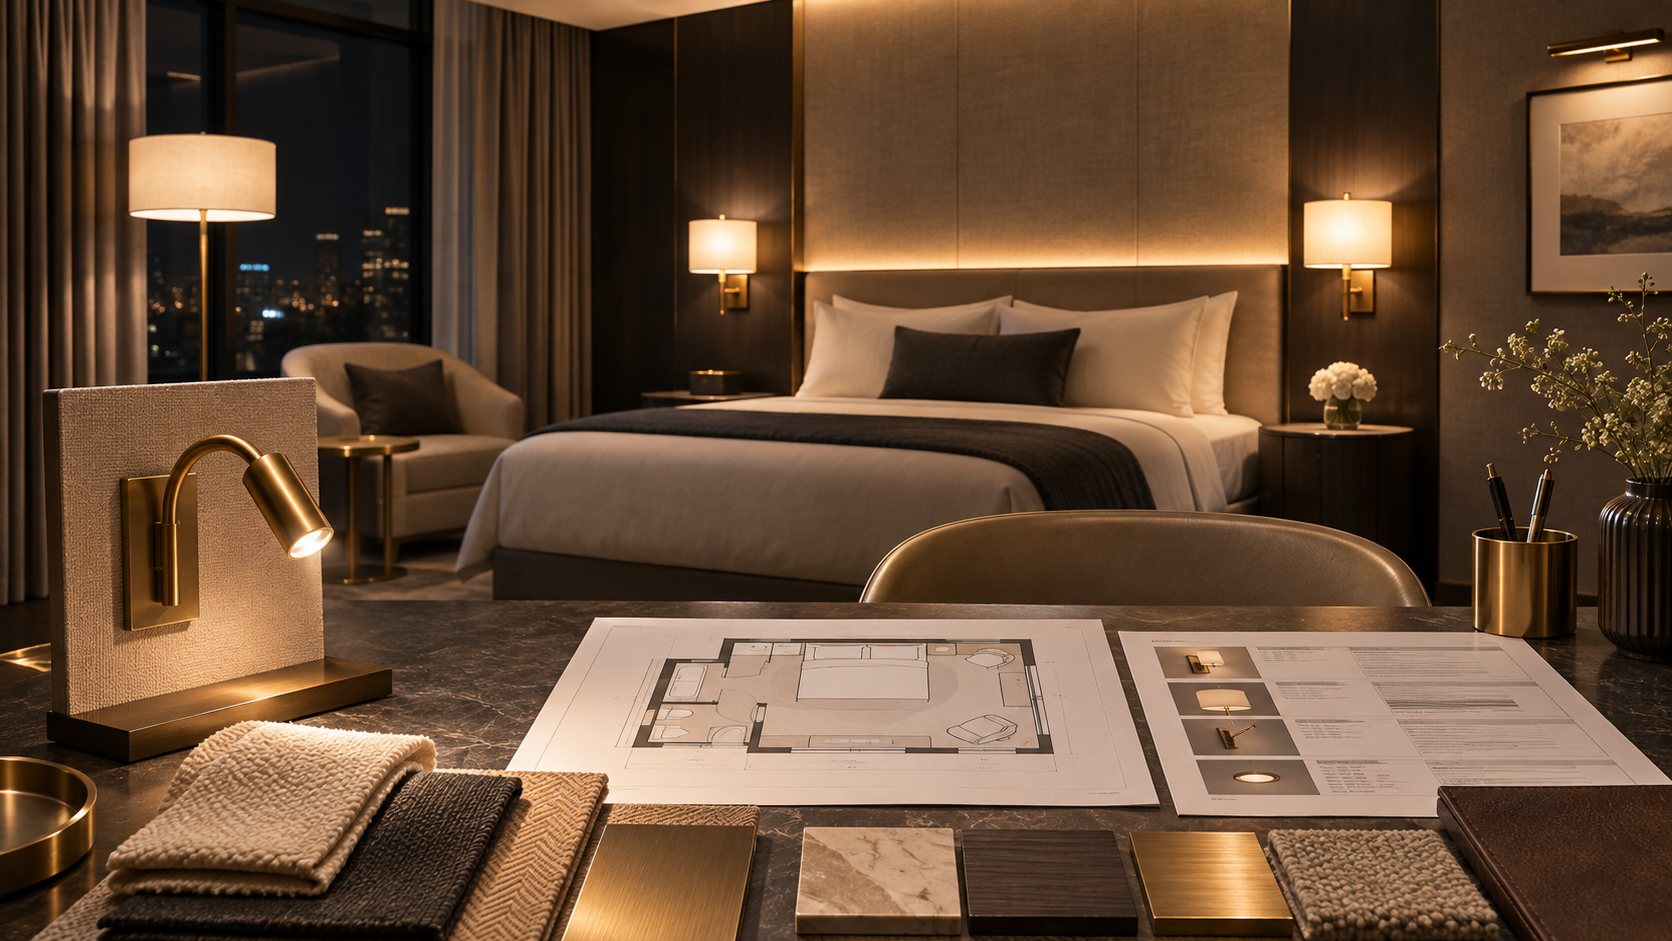
How to specify lighting for hotel room prototypes begins with deciding what the room must prove. A mock-up should test guest tasks, fixture fit, controls, appearance and service access using the exact proposed assembly. Give every light a schedule reference and every question a pass/fail observation before the room is built. Otherwise the sample can become a visually persuasive display while leaving important electrical or joinery questions open. The prototype is valuable because decisions can still change before repeated guestrooms are fabricated.
Freeze a controlled sample schedule
List the model, optic or shade, source colour, finish, driver, control, mounting accessory and revision for each light. Mark which details are approved and which are temporary. An appearance-only sample may be useful for scale but cannot establish electrical, thermal or photometric performance. If an alternative is introduced during construction, label it as an alternative and document what it is allowed to demonstrate.
Use the actual bed, mattress, pillows, desk, mirror and curtains. A bare room changes eye lines and reflection. Reconcile the lighting plan with the architect's elevation, headboard section and electrical drawing. The guest-room lighting plan checklist can expose missing circuit or access information before the sample is ordered.
Give each test an observable result
For reading, sit on both sides, aim the light and check the page and other pillow. For arrival, enter with the agreed default scene and locate the luggage area and controls. For night movement, switch from all-off and walk the intended route. At the desk and mirror, inspect shadows from normal working positions. Record glare and colour differences rather than assuming a lux value from a product brochure.
The room controller and local switch should be tested as a system. Confirm what happens at master-off, a power interruption and a housekeeping reset. If one light dims, check its low setting with the ordered driver and controller. MD-WL-Y092 has a documented flexible 3 W reading head with touch dimming and a toggle, but its exact action sequence must be tested. MD-WL-Y003 has a physical toggle and is non-dimmable. These facts cannot be swapped between models.
Check fabrication and maintenance interfaces
Ask the joiner and electrician to assemble one representative headboard or wall condition. Verify the approved opening or bracket, cable route, strain protection, driver space and access for removal. The Y003 surface mount and a recessed body call for different details. Check whether the guest can reach a switch with pillows in place and whether housekeeping can clean the fitting without changing its aim.
Review the selected finish in the actual room light. Compare a replacement sample beside the first approved sample if the project will procure over multiple phases. Keep an inventory of the exact components and revisions installed in the prototype; a later bulk unit should be compared against that record.
Turn observations into approval conditions
Use a short decision log for each test: condition, observer, result, defect, owner and retest date. Separate an accepted deviation from an unresolved issue. A photograph is useful evidence of an aiming position or finish, but it cannot replace an electrical document. Sign off only the aspects actually tested. The custom sample approval guide explains how to keep the prototype, drawing and procurement record aligned.
Before repeat installation, issue the final fixture and control schedules together. State which room is the reference sample and how changes will be compared. This makes the prototype a real production decision rather than a one-off show room.
