
Quick answer
Agree the approved cable path and connection method with qualified electrical and joinery teams, then document protection and access in the first assembled room.
How to route wiring through hotel headboards is a coordination question for the joiner, electrical designer and luminaire supplier. The safest route is the one approved for the exact product and destination market, protected by the finished furniture detail and accessible for inspection or replacement. Do not drill a generic path through a production panel and hope the electrician can adapt it later. Agree where power enters, how it reaches each fitting, what separates it from upholstery or moving parts, and who owns the final connection before the first headboard is closed.
Draw the route on both sides of the headboard
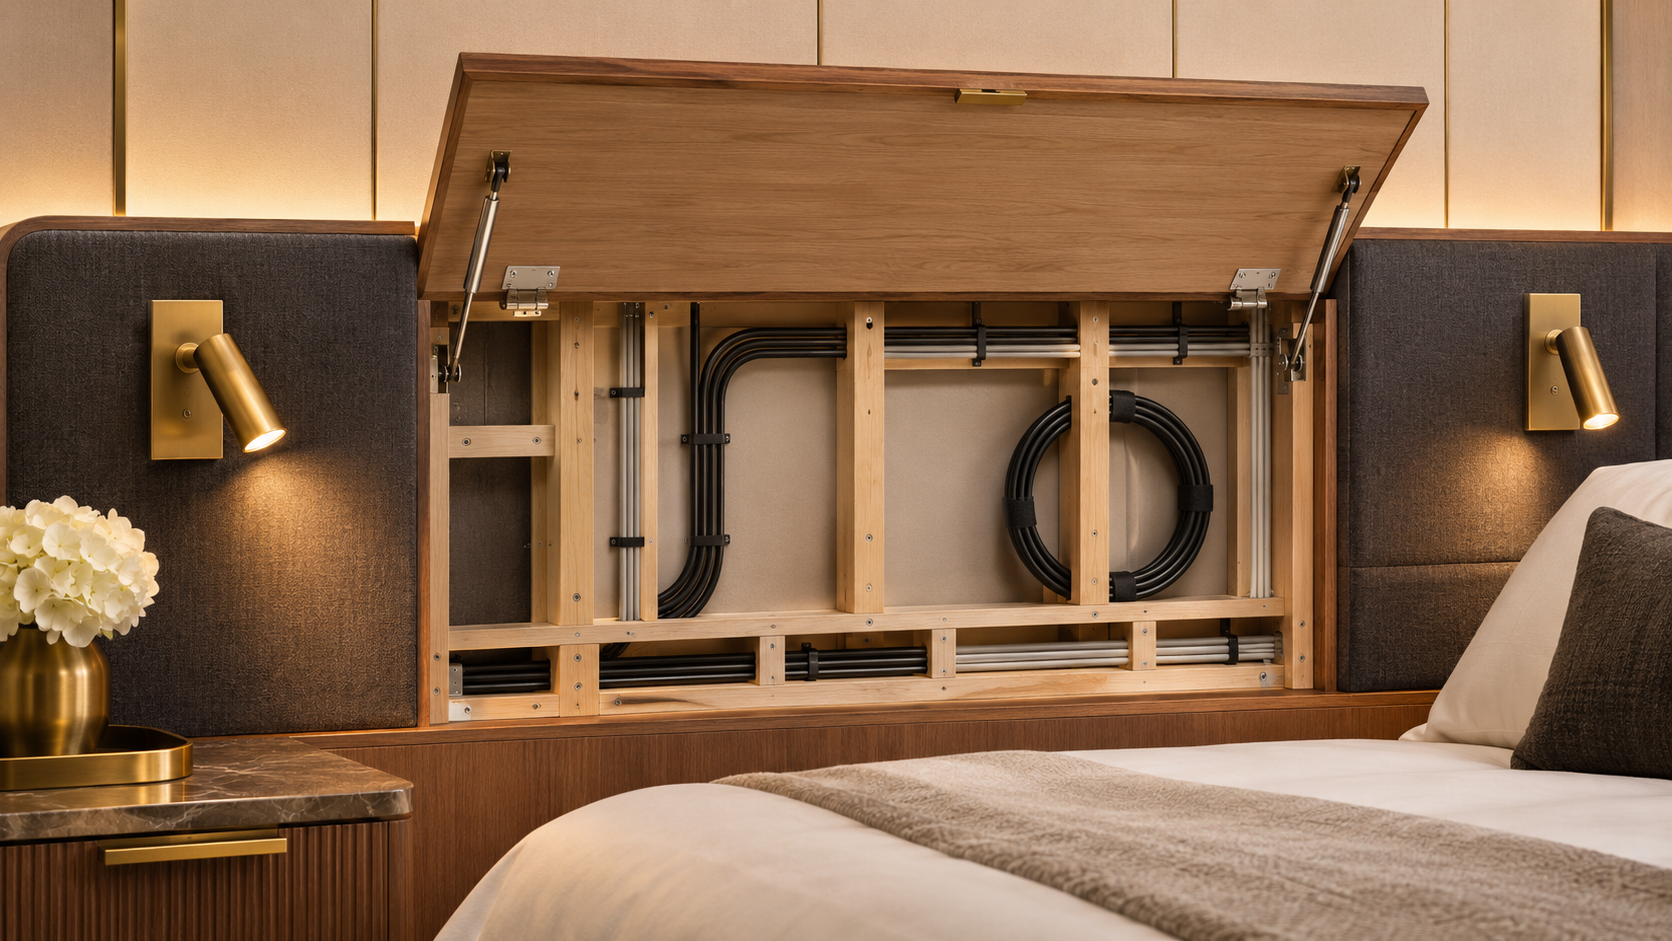
Show the visible elevation and the rear or sectional view. Mark each fitting, approved cable entry, connection point and service panel. Note furniture fixings, brackets, upholstery layers, hinges and any movable bed component that could conflict with a lead. A route that looks clear from the front can be obstructed by a structural rail behind it.
Use the exact product drawing to determine permissible orientation and entry. The documented MD-WL-Y135 is a recessed reading light, but its source pack does not confirm a universal cable route or cut-out. Do not copy a route from another model's installation sheet. The headboard-mounted installation review explains the broader sample and handover checks.
Assign electrical responsibilities
The qualified electrician should specify cable type, protection, connection enclosure, strain relief, separation from other services and any required access under local rules. The joiner should show how the panel supports and protects that approved assembly. The supplier should provide the product's current installation instructions and clarify where a driver or connector must be located.
Write these responsibilities in the drawing issue. Do not assume that a furniture maker can approve a mains connection or that an electrician knows the hidden joinery construction. If charging power and a reading light share a faceplate, their electrical requirements still need separate confirmation. Avoid treating a visible socket in an illustration as proof of a particular wiring method.
Preserve a service path
Ask how the installed fitting and any driver will be inspected or replaced after the room opens. A permanently sealed upholstered panel may make a small component failure expensive to repair. A removable panel should be reachable without damaging fabric, bed fixings or the wall. Check whether the proposed access remains usable after the mattress and furniture are in place.
In the first assembled headboard, have the joiner and electrician inspect the route before closure. Record photos of protected passages and the position of each connection. Do not leave loose cable in a cavity simply because the faceplate hides it. The final construction must follow approved drawings and electrical testing, not this general article.
Verify after assembly and substitution
Operate each light and control in the furnished prototype. Move any adjustable arm through its range and check that the cable or connector is not stressed. Confirm the correct off state and the room-master behavior. Log the exact luminaire, driver and headboard revisions.
If the panel depth, upholstery or luminaire changes, review the route again. A substitution may require a different cavity, supply or access method. The deliverable is a coordinated as-built drawing and inspection record that maintenance staff can actually use, not an invisible cable path known only to the first installer.
