
Quick answer
Begin with the circulation and pillow clearances, then choose a compact light position that reaches the reading plane without projecting into movement space.
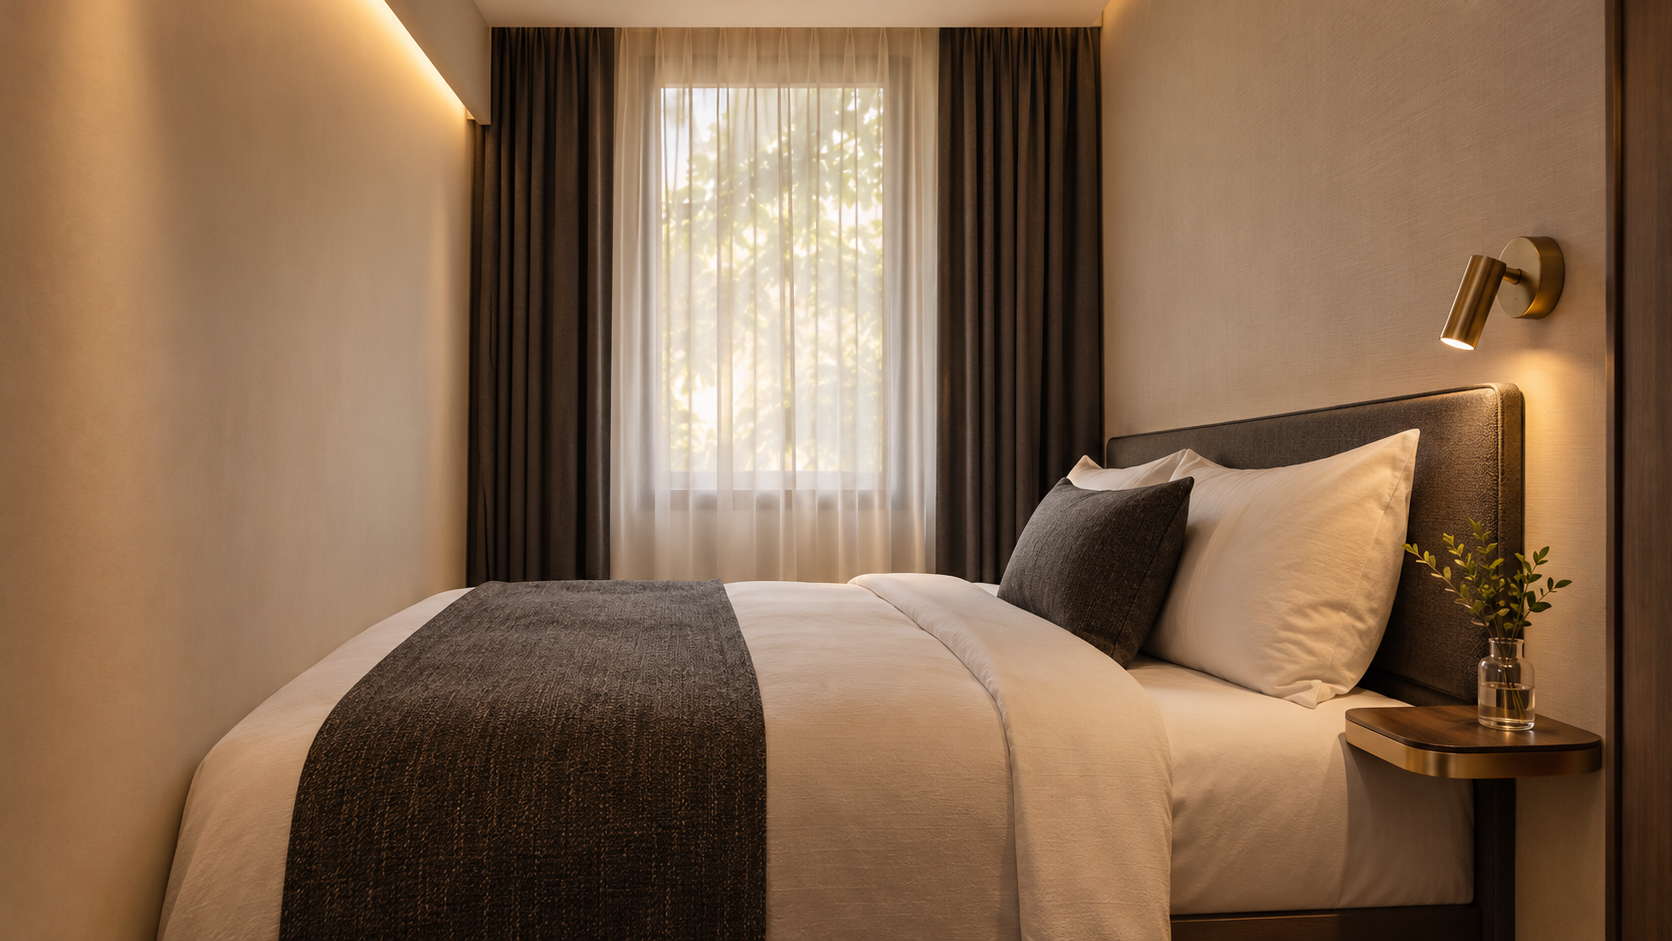
Bedside lighting placement for narrow hotel rooms begins with the walking route. Mark the bed, door swing, luggage position, nightstand and the space a guest needs to move beside them. Then place the reading light where it reaches the book without projecting into that route or forcing the guest to search behind a pillow for a switch. A narrow room can benefit from a compact wall-mounted fitting, but the fitting must still suit the wall, headboard and electrical plan. Test the full arrangement at actual size before repeating it.
Protect the route before choosing a fixture
Measure the clear space with the intended furniture installed, not an empty shell. Consider a suitcase opened on the floor, a chair pulled out and a bathroom door in use. A swing arm can be helpful when reading positions vary, yet its parked position must not become a snag point. A shallow wall fitting may keep the route clearer but must still put useful light on the page.
Check the location from the bed and doorway. A bright source that is hidden from one pillow may be visible from the other or reflected in a nearby mirror. The bedside clutter guide addresses what happens to the small table once the lamp moves to the wall.
Compare a compact set of mounting options
A surface-mounted reading head can avoid the cavity required by a recessed fitting, although it projects from the wall. The documented MD-WL-Y003 is a surface-mounted 3 W reading light with a physical toggle and a USB-A port. Its exact projection and installation detail must be taken from the current approved drawing. A recessed alternative may look quieter, but its verified cut-out and service space need to fit the actual wall or headboard.
Do not select only by front-view size. Mark the depth, cable entry, driver location and replacement access on a section. A very slim fixture that is hard to service may be a poor trade in a repeated room. Check whether the light can be reached from the pillow without the guest twisting around a narrow table.
Give each task its own workable state
The limited wall area can tempt a designer to rely on one bright fitting for the whole room. Instead, map entry, bedside reading, desk or luggage work, and night movement. A focused reading head may not illuminate the wardrobe. A soft ambient layer may not put enough useful light on a book. Review the combined scene with the actual furniture and finishes.
Test both the light-on and light-off states. A guest should be able to leave the bed without activating a harsh source in the eye line. If the corridor or bathroom light spills into the room, include that in the mock-up rather than treating the guestroom fixtures in isolation.
Freeze the accepted layout
Record the furniture dimensions, clear route, fitting model, mounting detail, switch reach and photographs from both pillow positions. Have operations staff check cleaning and component access. If a later value-engineering change replaces the table, headboard or fixture, repeat the clearance and reading tests.
Do not publish a generic minimum clearance from this article as if it satisfies every local accessibility code. The responsible designer must apply the destination project's requirements and approved drawings. The article's practical result is a room-specific decision that protects movement and reading at the same time.
