
Quick answer
Mark each guest task and light location on the furnished plan, then reconcile elevations, circuits, controls and service access before approving a mock-up.
The hotel lighting plan checklist for guest rooms should begin with the furnished room, not a fixture count. Mark what a guest must do at the door, wardrobe, desk, mirror, bed and bathroom route. Then give every intended light a location, control and electrical connection that agree across the plan and elevations. A beautiful reflected ceiling plan can still fail if the headboard reading light has no reachable switch or the wardrobe is shaded by an open door. Use the checklist below before construction drawings are issued and again in the first assembled room.
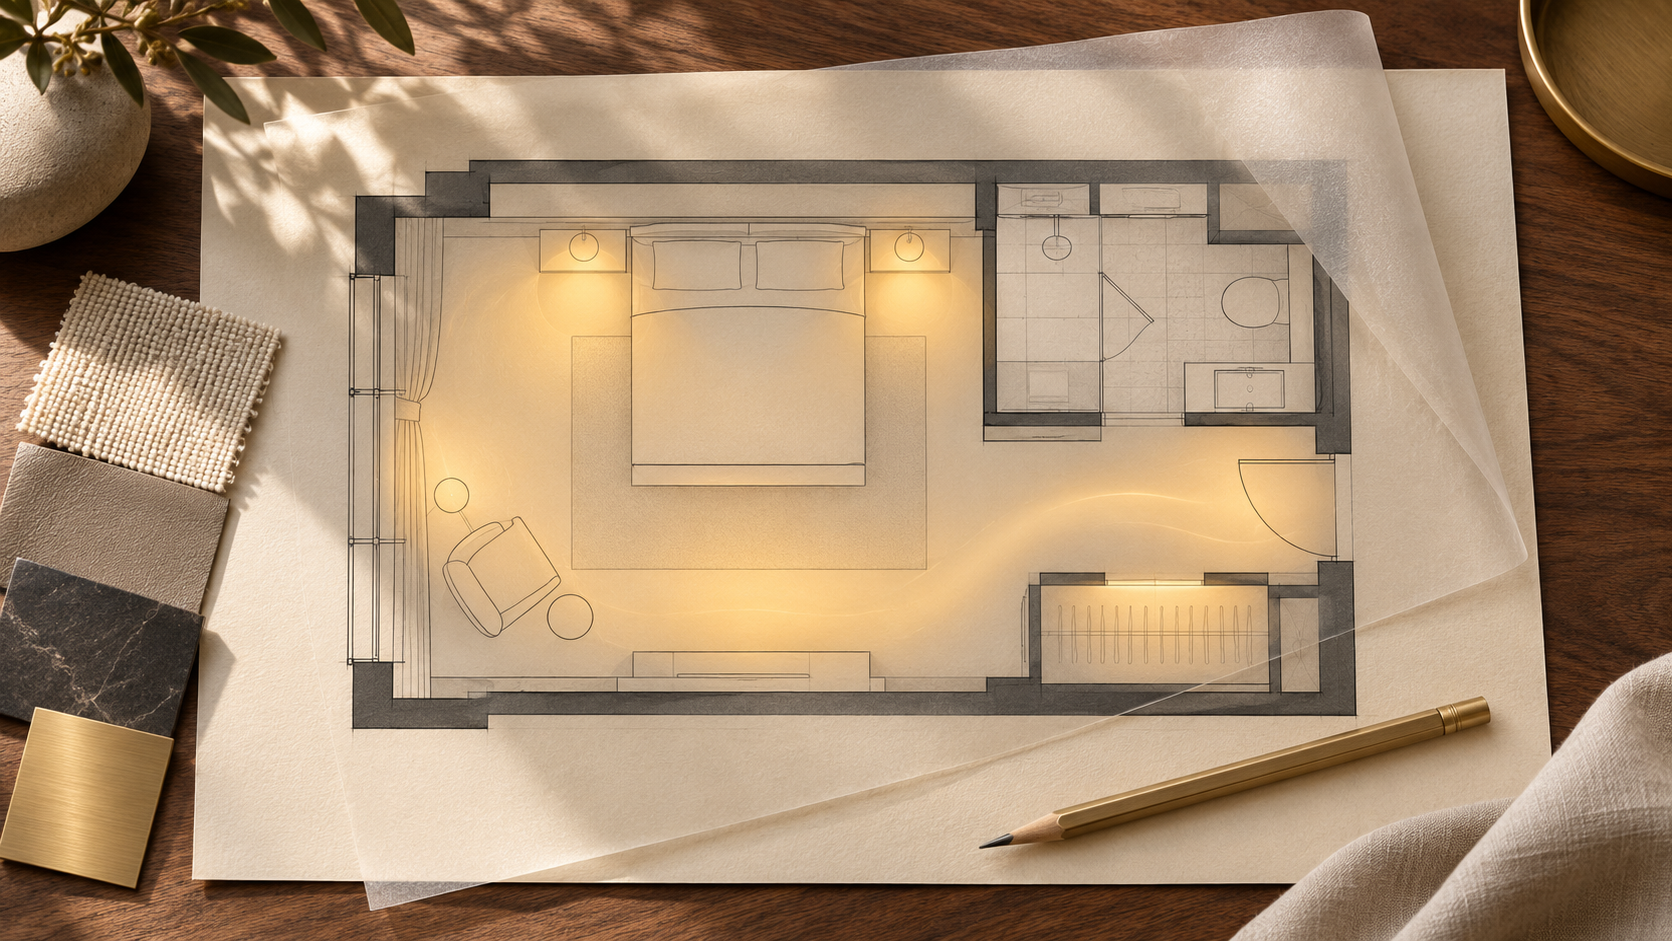
Establish the room tasks on one plan
Start with the actual bed size, furniture, luggage position and door swings. Draw the reading plane at each pillow and the work surface at the desk. Show the route a guest takes from the bed to the bathroom at night. This task map is the basis for reviewing light, even when a decorative scheme has already been selected.
Mark each luminaire by what it does: general orientation, focused task, night route or visual accent. If two fittings share a job, explain why. If one fitting is expected to cover two jobs, check its distribution in the mock-up. The layered hotel room lighting guide explains those roles in more detail; this checklist concentrates on the drawing handoff.
Reconcile plan, elevation and furniture detail
Place the same fixture reference on the floor plan, wall elevation, headboard shop drawing and lighting schedule. Check its visible face, mounting support, cable entry, cut-out if applicable, and clearance from upholstery or movable furniture. A front-view dimension is not a cut-out dimension. Do not release joinery from a product photograph or an unverified sketch.
At the bed, sit in both reading positions on the intended mattress and pillows. Confirm that each guest can find the switch and aim the light without shining into the other pillow. A recessed head such as the documented MD-WL-Y135 may need joinery depth and access reviewed. A surface-mounted MD-WL-Y003 follows a different installation path. Neither model should be placed on a drawing without its exact approved configuration.
Check circuits and control states
Give every fitting a circuit identifier and a control point. Then write the expected state for arrival, reading on one side, desk work, night movement and all-off. Confirm which lights remain available after a room-master action and whether charging power is intentionally independent. Identify dimming only where the selected fitting and controller support it; the documented Y003 reading light is non-dimmable.
The electrical designer should reconcile supply, protection, driver location and destination-market requirements. The room plan is not an installation permission. If the fixture schedule changes, compare both the lighting plan and electrical drawings before a substitute is accepted.
Sign off the first furnished room
Before repeating a detail across rooms, inspect one complete sample in daytime and darkness. Use the checklist in this order:
- Every intended task has a usable light and an understandable switch.
- The book, desk, mirror, luggage and walking route can be used without an uncomfortable source in the eye line.
- Headboard seams, doors and furniture do not block the beam or service opening.
- Circuit labels, control states and the actual delivered product agree with the drawings.
- Approved photos, product versions and unresolved exceptions are recorded together.
An attractive image is not an acceptance result. Record who approved the room and what was tested. The hotel lighting specification template helps turn the accepted fixture data into a controlled schedule. Recheck the plan if bed height, headboard thickness, optic or control hardware changes after sign-off.
