
Quick answer
Design headboard lighting around the guest's reading position, control reach and the real joinery section. Fix the bed and pillow geometry first, coordinate supply and service access with the headboard maker, then approve light and finish in a full-size room mock-up.
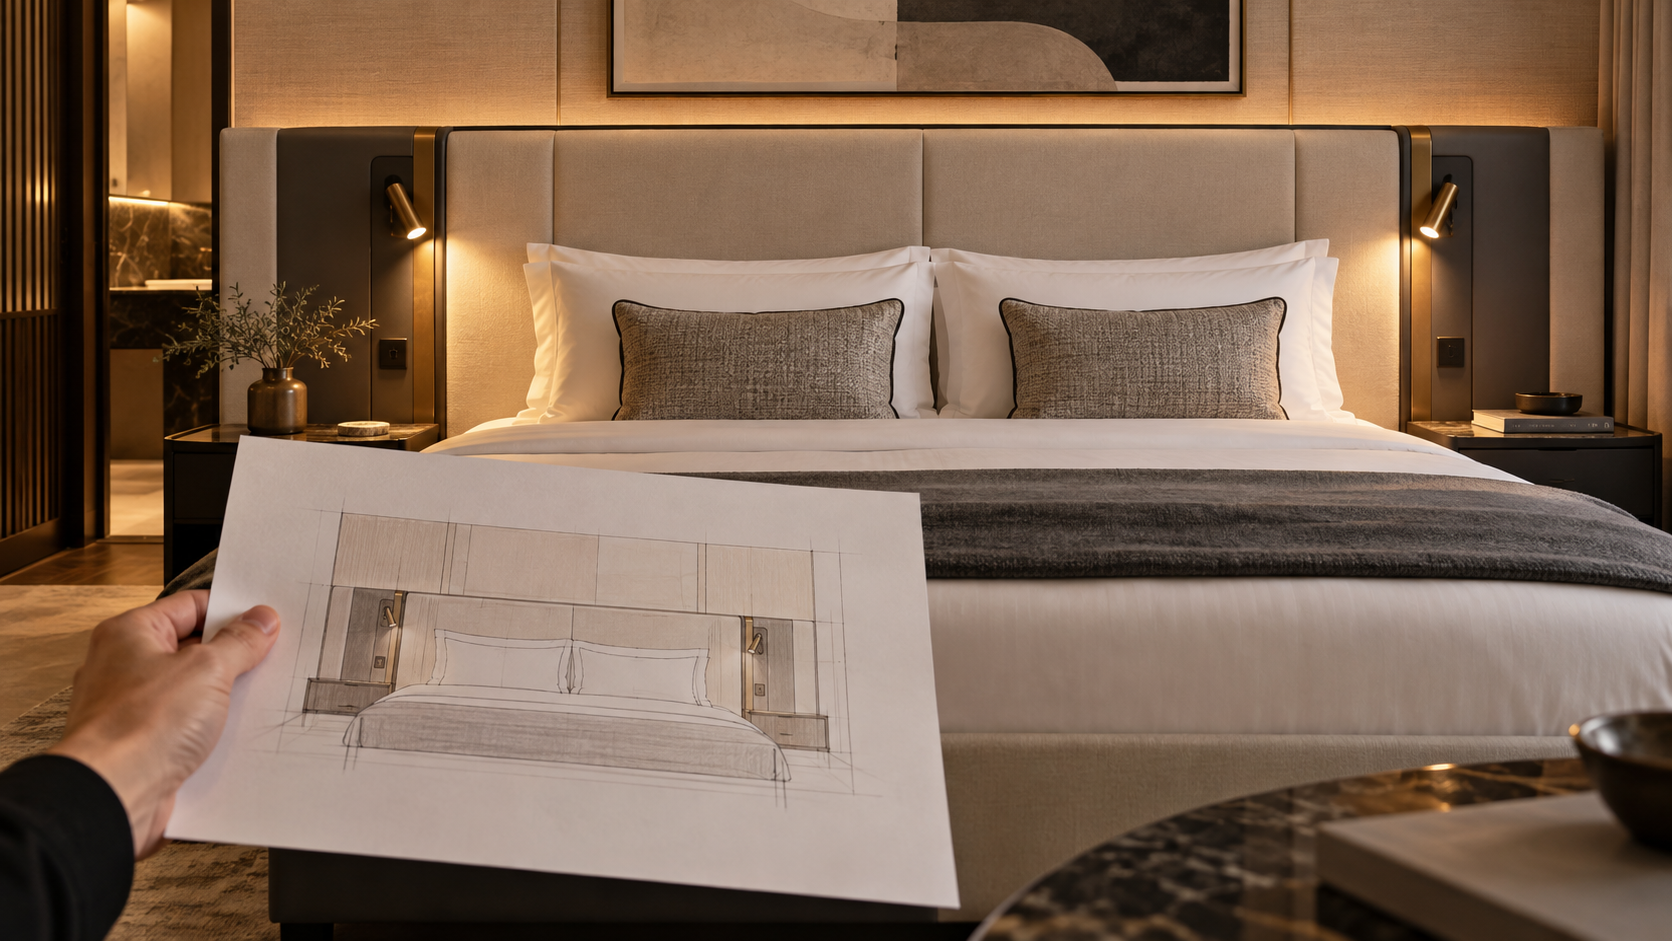
Hotel headboard lighting design should start with the people using the bed, not with a fixture centered on an elevation. Mark where each pillow, reader, switch, charging point, and bedside surface will be. Then coordinate the luminaire with the joinery section and electrical plan. A full-size sample room is the place to settle the final height, aim, appearance, and access for maintenance.
Begin with the bed in use
Draw the mattress, pillows, likely reading posture, and both guest positions at the correct scale. The architectural centreline may not be the best reading-light position, especially when a wide headboard spans one nightstand or two beds. A guest should be able to reach the control without getting out of bed or searching behind a pillow.
Separate the headboard's jobs. A decorative glow can give the wall depth; a reading head needs useful light on a book without putting a bright source in the reader's eye. A charging point is a third function with its own electrical and service requirements. A single assembly may combine them, but the drawing and schedule should still identify each function.
Choose a mounting format from the actual section
A recessed head can keep the visible surface quiet, but it needs a verified opening, cavity, fixing and access path. The MD-WL-Y135 recessed reading light is a possible design direction. Its overall dimensions do not establish the cut-out; request the current installation drawing before a joiner cuts repeat openings.
A surface-mounted fitting can avoid a recessed body, yet its backplate still needs a sound substrate and coordinated cable entry. The MD-WL-Y003 surface-mounted reading light also includes a toggle and USB-A port in its confirmed product information. Check the precise bracket and supply instructions for the ordered configuration. Neither format should be selected from a front elevation alone.
The headboard maker, electrical designer, and lighting supplier should sign off the same section. Show finish thickness, structural backing, cable route, any driver space, and access for removal. If upholstery is involved, detail the opening and fixing behind the fabric rather than fastening through soft material alone.
Set a control and light brief
Write a short operation sequence: which bedside light turns on, where its switch is, what the room master control does, and whether charging remains powered when the room is in an unoccupied mode. These are project decisions, not properties that can be assumed from a catalogue image.
Ask the lighting designer for the intended reading-plane criterion. Review beam, shielding and aim at the actual mounting distance. Test with a book at both pillows, in both upright and reclined positions. Note any spill onto the neighbouring guest. Also check the fitting's parked position against pillows and bed-making.
Approve one repeatable room detail
Build a sample with the actual headboard material, installation depth and selected finish. Confirm that the opening and bracket work without improvisation, and that the light can be cleaned and serviced. Photograph the accepted position with a dimensioned drawing and record the exact product configuration.
Before releasing production, ask for:
- A coordinated elevation and section showing bed, pillows, switch and light centres.
- The exact product drawing, electrical connection method and required access.
- A finish sample viewed under the proposed ambient and bedside scenes.
- A written room-control sequence and guest-use test record.
- An agreed correction and retest process if the mock-up changes.
This process turns a headboard concept into a detail that contractors and buyers can reproduce. For wider room-layer decisions, see the hotel bedroom lighting design guide.
