
Quick answer
Map each guest task to a lighting layer, exact fixture variant, control and furnished-room approval test.
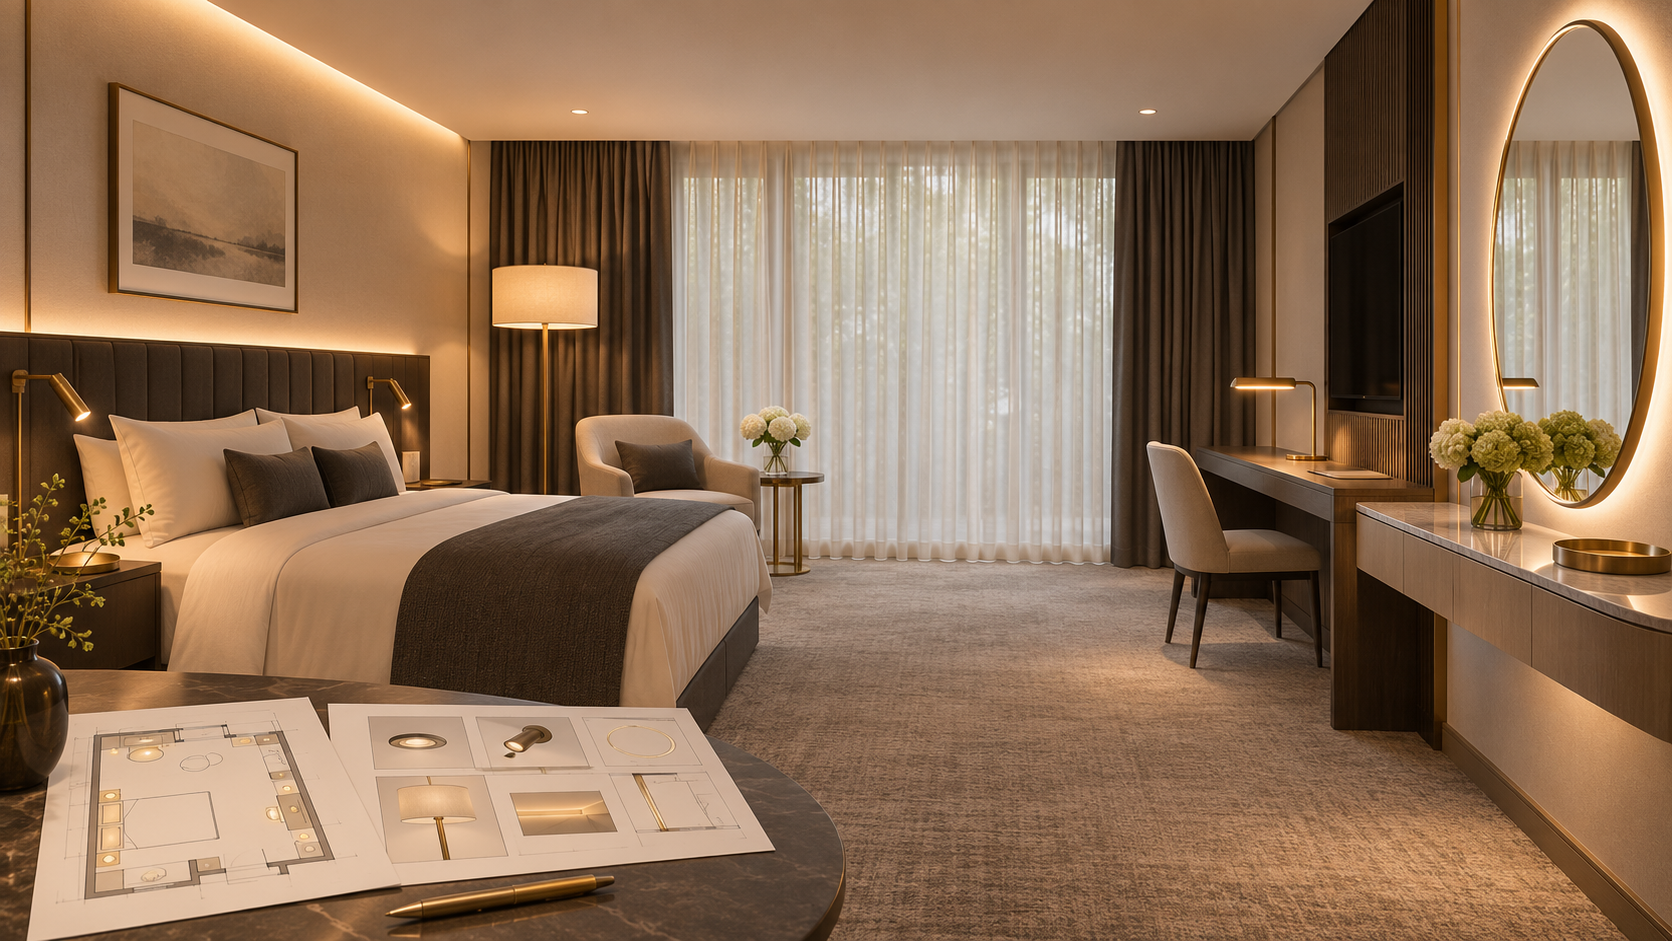
The hotel guest room lighting specification checklist should describe what a guest needs to do in each part of the room, the exact luminaire and control arrangement that supports it, and how the team will approve the installed result. A schedule of attractive fixtures is insufficient if it leaves reading, luggage, dressing, bathroom use, and night movement unresolved. Start with a furnished room plan, then connect every lighting layer to a task, circuit, physical location, finish, and test. The local electrical designer must confirm the applicable rules and the final manufacturer documentation for each destination.
Map the room before choosing fittings
Mark the bed pillows, reading planes, desk, mirror, wardrobe, entrance and safe route to the bathroom on one coordinated plan. Note which activities need focused light and which need a softer background. The bed is especially sensitive: one guest should be able to read while the other rests, without a bright source visible across the pillows. Check the same plan with curtains open and closed. Furniture dimensions, mirrors and glossy surfaces can change the useful light pattern after the initial ceiling plan is drawn.
Record the finished mattress height, headboard construction, service voids and visible wall finishes. A light that looks correctly spaced on an elevation may be inaccessible behind a fixed panel or too far from the book in a real bed. Resolve these conditions with the interior and joinery teams before procurement. The headboard placement guide explains the detailed bedside coordination.
Give each lighting layer a clear job
Specify ambient, task, accent and night-route light as separate functions. Ambient fittings should support arrival and general orientation; reading heads should put useful light on a page; desk and mirror lights should be judged at their task planes. An accent fitting may contribute to atmosphere without being the only way to complete a practical activity. For each layer, state the planned location, optical intent, control group and what a guest sees from normal eye positions. Do not copy a generic lux value into every zone without checking the project brief and measurement method.
The fixture schedule should identify the selected model and exact ordered configuration, mounting type, supply and driver arrangement, colour appearance, finish, controls, drawings, and required approvals. If a feature such as dimming, USB charging or a socket is required, identify its electrical and user behaviour separately. A model family name alone does not prove that every option is available together. Keep revised option codes tied to the drawing and sample record.
Make controls and power understandable
Draw a simple guest sequence: enter the room, find the bed, read, turn one side off, get up at night and leave. Label the actual controls for each step. Test them from the doorway and each pillow in the prototype. Confirm whether the bedside circuit, master switch or room-management system changes an integrated outlet or USB port. A power function that unexpectedly dies with the light can frustrate guests even when the luminaire itself is correctly installed.
Ask the electrical designer to verify supply voltage, earthing, protection, accessible connections and local socket approval. Obtain the manufacturer's installation instructions for the selected variant. Record where drivers and serviceable components sit, and whether maintenance can reach them without damaging finished joinery. Where an opening is proposed, use the approved drawing for that exact fixture rather than a dimension inferred from a photograph.
Approve one furnished room, then control change
The mock-up should contain the intended bed, headboard, finishes and control hardware. Have reviewers sit at both pillows, read a real page, stand at the mirror and walk the night route. Record glare, spill, switch reach, finish appearance, acoustic or visible driver issues and any discrepancy between the approved drawing and built assembly. Photograph the observation positions; a close-up of a fitting alone cannot document the guest experience.
Issue an approval sheet with drawing revision, fixture options, finish samples, test conditions, open items and owner. Recheck any changed component, especially LED board, optic, driver, diffuser or control. Keep the final room schedule and spare-parts plan aligned with the accepted sample. The wall-light specification checklist provides a fixture-level companion to this room-wide checklist.
Procurement handoff checklist
- Confirm the room task map and the exact location of every fitting.
- Lock ordered configurations and source documents rather than relying on a family photo.
- Identify each circuit, scene, outlet and charging function.
- Verify mounting, access and destination-market electrical requirements.
- Sign off a furnished mock-up with deviations recorded before repeat ordering.
This process produces an actionable room specification. It does not imply that any unverified MYDE model meets a project standard or that one room test replaces local technical approval.
