
Quick answer
Ambient light makes the room navigable and comfortable; task light concentrates usable illumination at a book, desk or mirror. Give the layers separate controls and test both together.
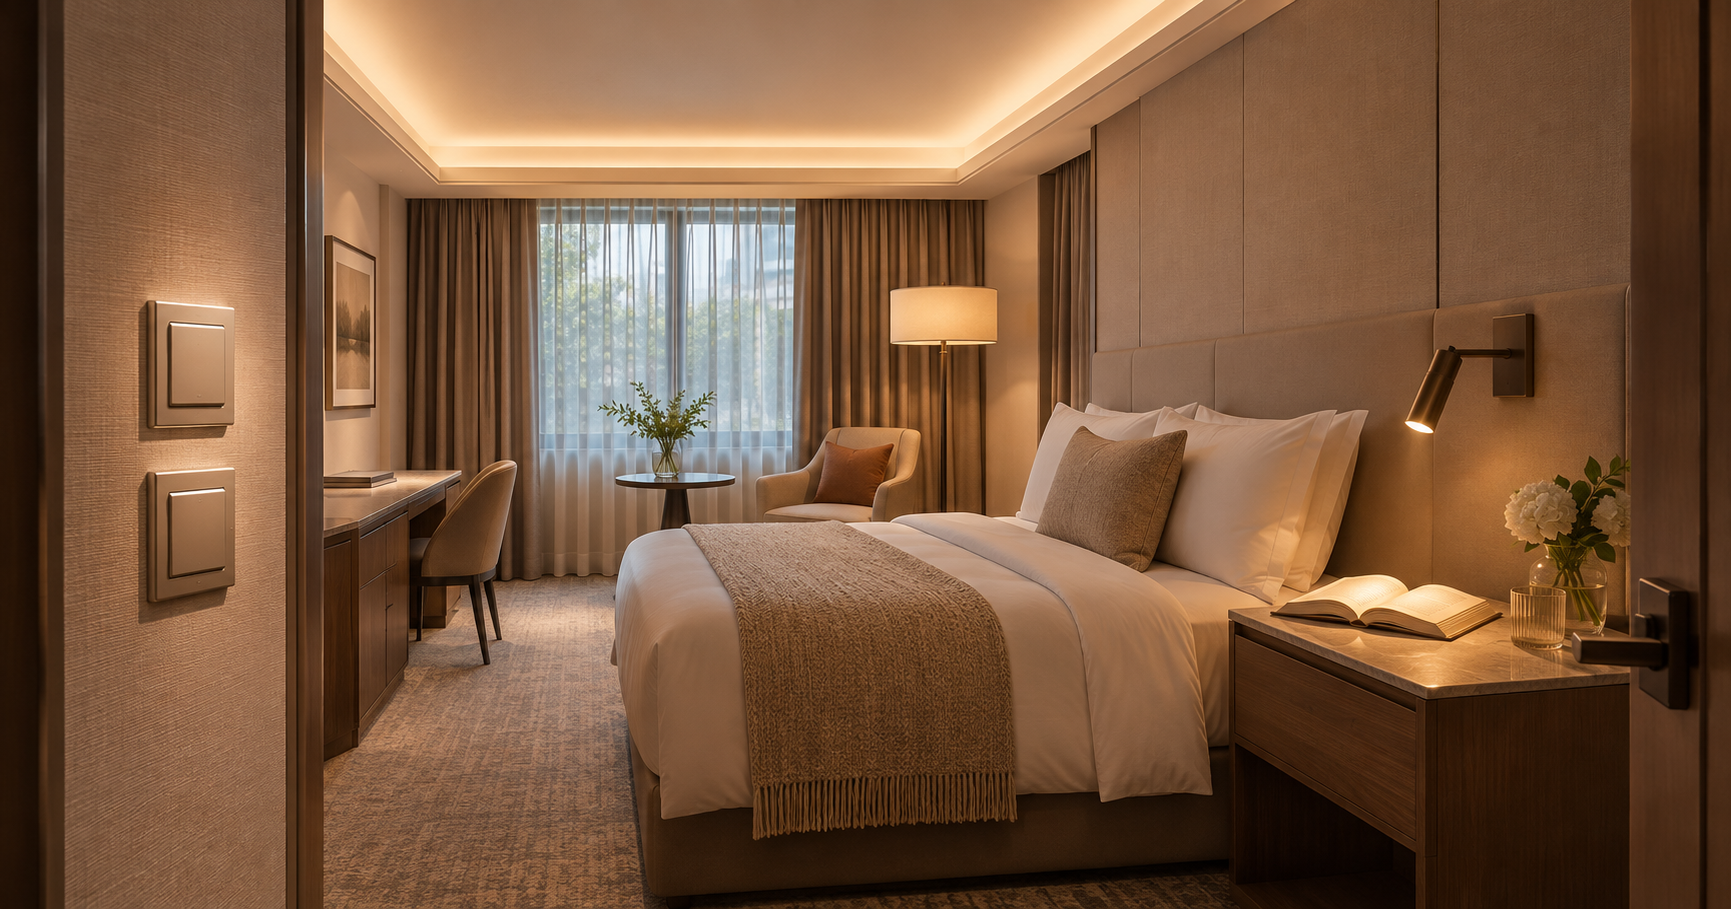
Ambient vs task lighting in hotel guest rooms is a distinction between two jobs. Ambient light provides a usable background for entering, moving and seeing the room as a whole. Task light concentrates illumination where a guest reads, works or uses the mirror. Neither layer is a substitute for the other. A bright ceiling can make a photograph look complete while leaving a book in shadow; a strong reading spot can make a book clear while the floor route remains dark. Specify each layer by its use and control, then test the combined scene from the guest's real positions.
Map the room tasks before naming fixtures
Mark the entrance, luggage area, bed, desk or table, mirror and bathroom threshold on a furnished plan. For each point, ask what a guest must see, where the eyes are and whether another guest may be asleep. This produces a useful layer map rather than an arbitrary list of luminaires. In a compact room, one fitting might contribute to more than one job, but its installed distribution must still be checked at each task.
Ambient light is often indirect or softened so the room does not expose a harsh source at bed height. It may reveal vertical surfaces and help a guest understand the volume. Task light is closer to the work plane and can be aimed or shielded. The difference is about where useful light lands, not whether a fitting is mounted on a wall or ceiling. A shaded wall sconce can be ambient; a small adjustable wall head can be task.
Give the layers separate decisions and controls
Write a scene matrix for arrival, reading, desk work, night movement and all-off. In each row, state which layer is active and which guest can control it. A room-wide dimmer may adjust the ambient layer without controlling a non-dimmable local reading light. Confirm the actual electrical interface before assigning a control symbol on the plan. The bedside control integration guide can help reconcile local and room-wide actions.
MD-WL-Y092 offers a documented flexible 3 W reading head, touch dimming and a toggle. Its exact control sequence needs sample verification; do not infer it from the phrase “touch dimming.” A proposed ambient fixture and a reading head should also be compared for colour appearance in the same room. Two nominally similar warm whites may look different against fabric and timber.
Test the boundaries between layers
Switch on ambient only and walk from the door to the bed. Check floor edges, luggage and switches without relying on the reading heads. Switch on one task light only and read in a normal posture. Check whether a bright LED or reflected patch is visible from either pillow. Then combine the layers: the local spot should still have enough contrast to do its job, while the room should remain comfortable.
Repeat the test after dark and with the curtains in their usual positions. Daylight can hide a weak ambient layer, and a showroom wall finish can reflect differently from the selected guestroom fabric. Record which controls are reachable from the bed and whether the night route survives the master-off sequence. Where project illuminance targets are required, have the lighting designer measure the specified planes in the assembled room; a wattage or marketing label is not the result.
Make the handoff unambiguous
Give the contractor a luminaire schedule that names the layer, exact fitting configuration, mounting point, circuit, control and service access. Keep the architect's elevation, electrical drawing and control sequence aligned. The guest-room plan checklist provides a broader drawing review. Sign off the physical mock-up only after the combined and independent scenes work. This is more reliable than approving a single attractive rendering.
