
Quick answer
Move from room brief to drawings, prototype, testing, accepted sample and controlled repeat production.
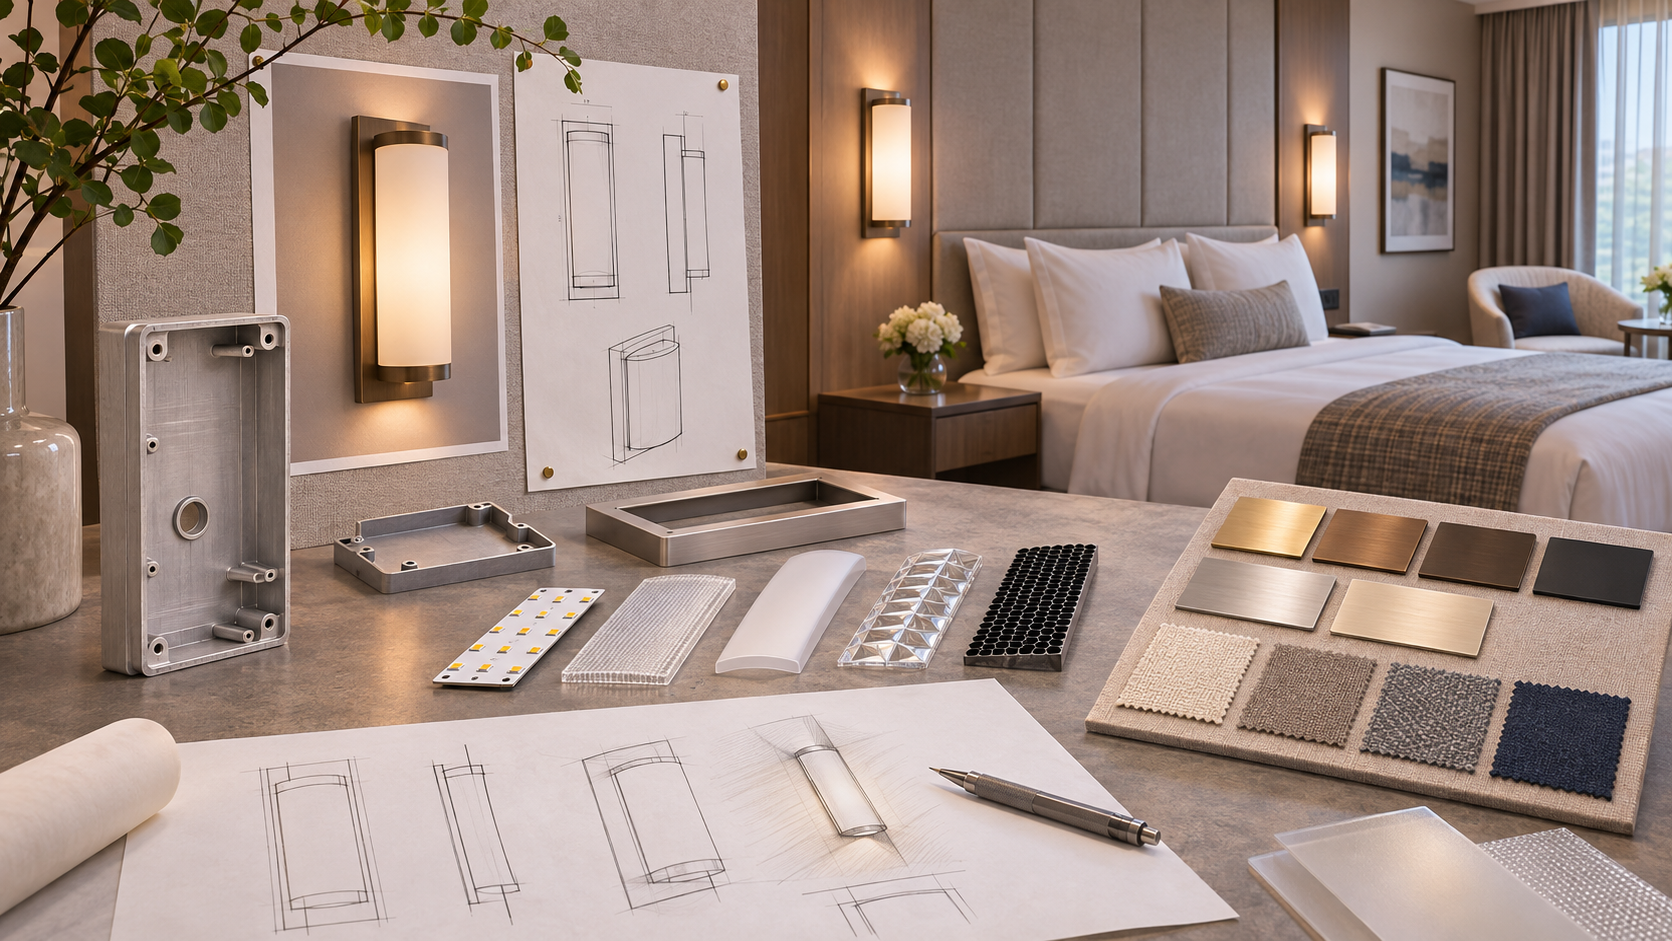
How custom hotel lighting is made depends on the agreed brief, design ownership, materials, electrical architecture and order volume. A responsible project moves from a defined room need to drawings, prototype, testing, approved sample and controlled production. Some parts may be machined, formed, cut or sourced; the correct route is selected for the specific design. This is a general manufacturing workflow, not a statement that MYDE operates a particular process, owns a factory or has completed a named hotel project. Buyers should ask a proposed supplier to document its actual route for the ordered luminaire.
Begin with the room problem
Provide the intended guest action, mounting location, dimensions, nearby furniture, finishes, target market and controls. A sketch of an attractive sconce cannot answer where the driver sits or whether a guest can reach the switch. Include the planned supply and the electrical designer's constraints. Mark any non-negotiable envelope dimensions and any finish reference that must coordinate with other hardware. Decide who approves appearance, optical result and installation before samples are built.
The first design review should surface conflicts: insufficient headboard depth, a bright source visible from the pillow, difficult cable access, incompatible socket requirements or a finish that cannot be maintained. Resolve them on a drawing, then in a room mock-up. A custom shape does not excuse a weak guest experience.
Develop a controlled design package
Create dimensioned assembly and component drawings, a bill of materials, electrical diagram, optical intent, finish specification and installation method. Record versions and responsibilities. If the light contains a moving head, switch or charger, specify the user sequence and service access. The supplier should confirm which parts are standard and which require tooling or unique processes. The sketch-to-production guide focuses on this document handoff.
Material choices affect both appearance and production. Sheet metal can be cut and formed; solid parts may be machined; diffusers and lenses require their own optical and thermal checks. No one process is automatically best for every component. Ask for samples that show actual edges, joints and finish rather than approving only a rendered view.
Prototype and validate the assembly
Build an engineering prototype to investigate fit, thermal path, wiring, control response and service access. Then make a room-facing sample with the intended visible finish and optic. Test it in the furnished setting with the final mattress, wall or headboard. Check page lighting, glare, reach, cleaning and removal. Where safety or performance testing is required, use the standards and methods applicable to the target market and final configuration. An attractive prototype is not proof of compliance.
Record every deviation from the drawing. Changes to LED, driver, lens, coating or socket can alter the product enough to need another review. The sample approval guide explains how to keep the accepted object and documents aligned.
Release and repeat deliberately
Once the technical and room samples are accepted, freeze the approved drawing revision, bill of materials, finish reference, inspection points and packaging method. Ask for a first production article or controlled early lot before full rollout. Compare it with the retained sample and record any permitted variation. A buyer should know who checks dimensions, appearance, electrical build, label and packing before shipment.
Plan service parts and later phases at the same time. If a component becomes unavailable, require a documented substitute and renewed testing where needed. This preserves consistency when rooms are refurbished or repaired. The finished product is a controlled assembly with an evidence trail, not simply a custom sketch made physical.