
Quick answer
Turn a visual concept into revision-controlled drawings, components, room tests and a release package.
Moving from lighting sketch to production requires turning an idea into a controlled set of dimensions, materials, electrical interfaces, acceptance tests and revisions. A hand drawing is useful for proportion and intent, but production needs unambiguous instructions for every component and for the complete assembly. The design team should preserve the sketch's guest-facing purpose while resolving what the sketch cannot show: fixing, wiring, optics, thermal path, maintenance access and destination-market evidence. This is a general development method, not a claim about a specific MYDE production line.
Capture the intent behind the drawing
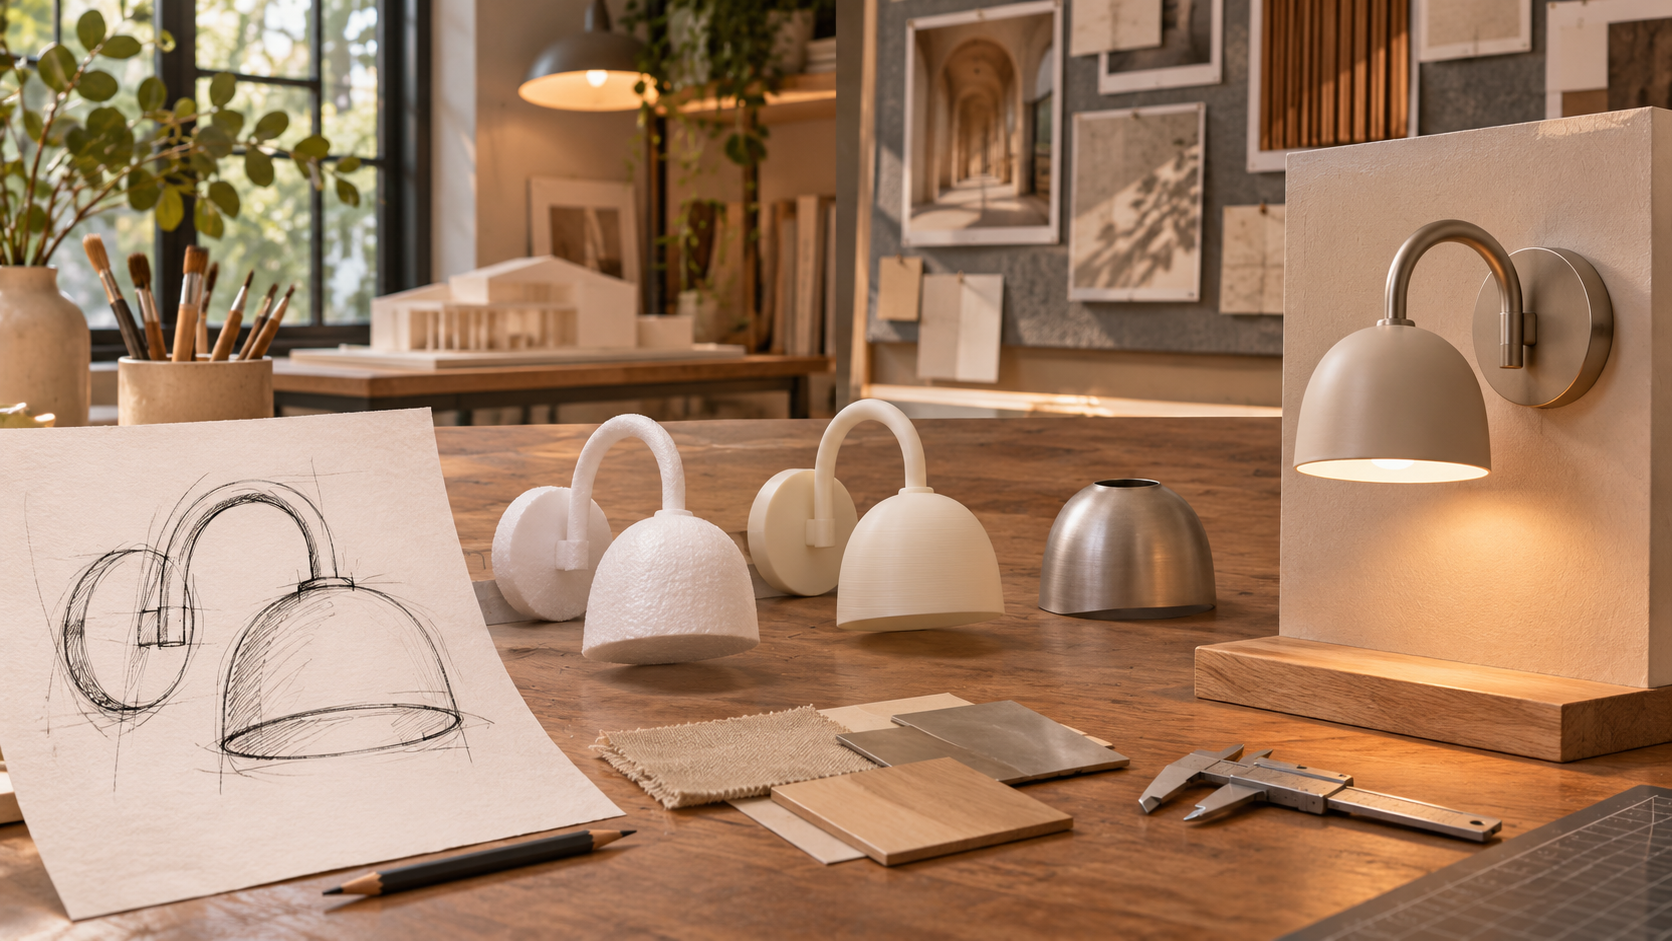
Annotate the sketch with the room type, viewing positions, target surfaces, approximate envelope, finish character and intended interaction. Is the fitting decorative, a focused reading tool or both? Where will a guest touch it? Which surfaces must align with joinery? A supplier cannot choose the right engineering route if the drawing only communicates a silhouette. Add photographs or material swatches to show finish intent, but identify them as references rather than approved production samples.
Describe the elements that may change and those that may not. A bezel width might be flexible; a headboard cut-out or mirror clearance may be fixed. Identify the target market and electrical supply early. A last-minute change to a socket, driver or control can invalidate earlier drawings and tests.
Build an engineering definition
Produce an assembly drawing, component drawings, bill of materials, electrical schematic, mounting detail and finish specification. Give each a revision. Note the tolerances that matter to visible seams, moving parts and installation, and verify that they can be measured. The engineer should review heat dissipation, cable protection, fixing strength, access for repair and the compatibility of LED, optic, driver and control. Do not invent a performance number simply because a sketch suggests an effect.
Ask the manufacturer which features require a prototype before tooling. A thin decorative edge may need a forming or machining trial; a diffuser may change the visible colour; a plated finish may expose surface defects. The CNC machining guide and laser-cutting guide explain two possible part-making routes without assuming either is used for every MYDE product.
Use prototypes to answer specific questions
An early form model can settle scale and hand clearance. An engineering prototype can test assembly, wiring, control behaviour and access. A later room sample should use the intended optical and visible finish configuration. Mark each prototype with its revision and the questions it was built to answer. Do not let an untested aesthetic model become the final approval object simply because it photographs well.
Install the candidate in the furnished room and test it from guest positions. Check the page or wall it should light, source visibility, switch reach and cleaning. Record defects and decide whether they require a drawing update, component change or new sample. The prototype development guide sets out the iteration method.
Release only a coherent package
Before production, reconcile the accepted room sample with the final drawings, bill of materials, finish reference, labels and required market evidence. Create inspection points for dimensions, electrical build and visible appearance. Ask for a first production article and compare it with the retained sample. Define how any change will be submitted and approved.
The result is a traceable path from design intent to a reproducible assembly. A sketch starts the conversation; the revision-controlled package is what allows the same light to be made, installed and serviced consistently.