
Quick answer
Give each prototype a question to answer, then record its revision, room test and unresolved issues.
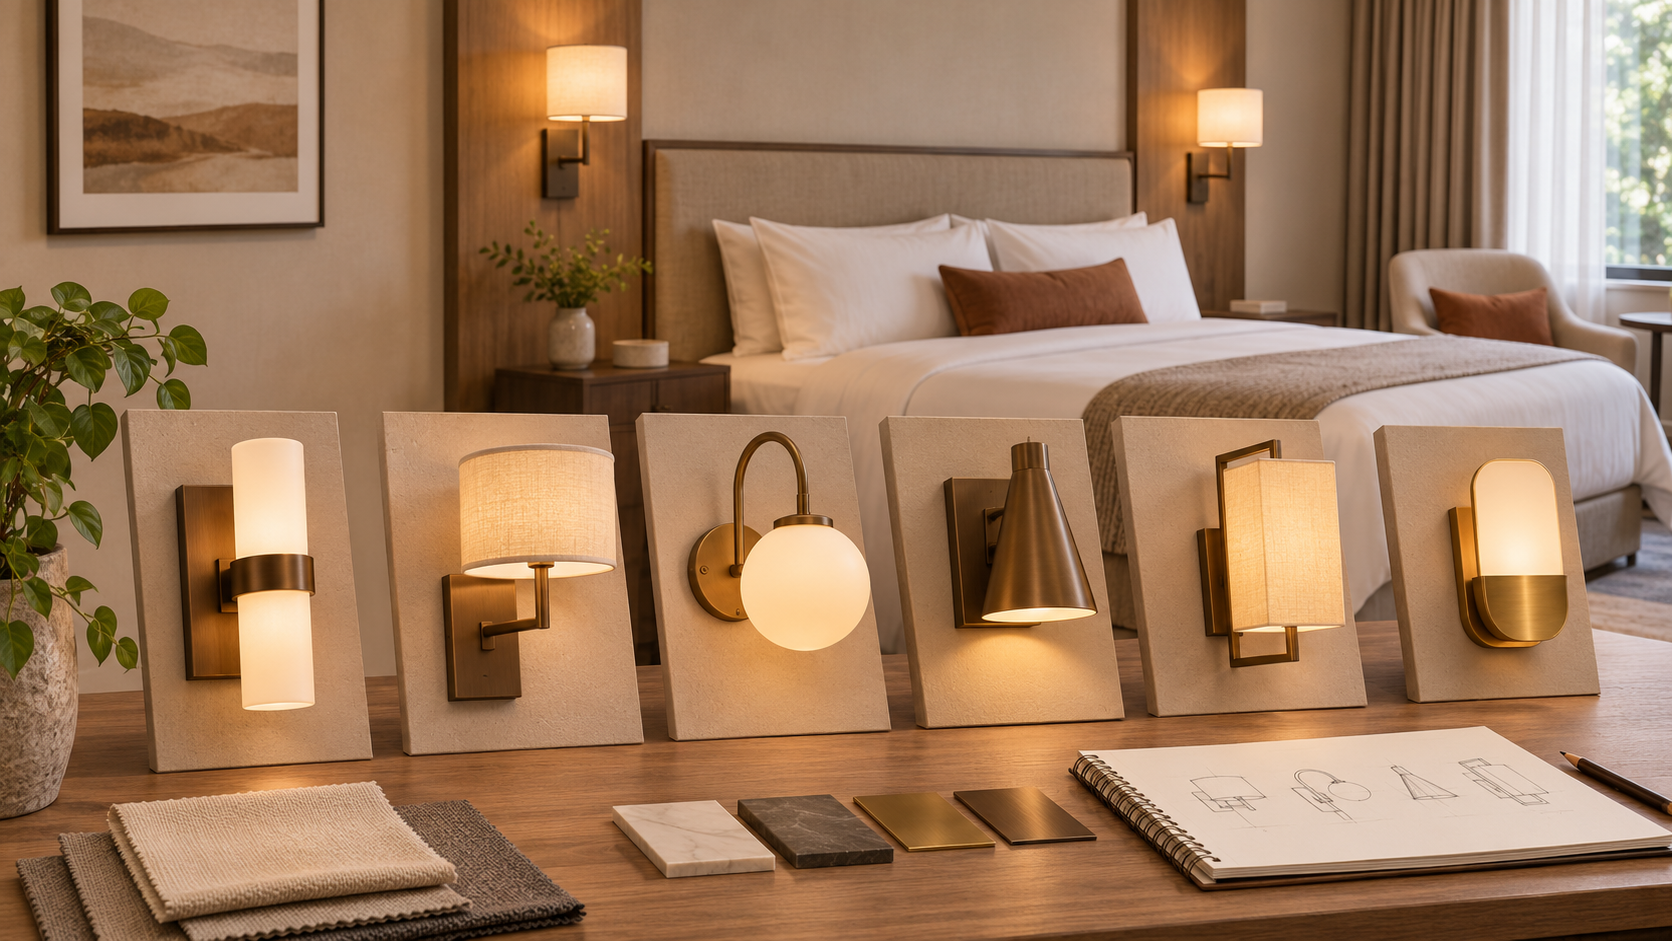
The hotel lighting prototype development process should answer a sequence of specific questions before a fitting is approved for repeated rooms. Begin with fit and guest use, then test the electrical, optical, finish and service details of the actual proposed assembly. A prototype is a learning tool; it is not automatically a certified product or a production sample. Label each build with its revision, purpose and outstanding issues, and keep the accepted room sample separate from earlier appearance models. This approach helps a hotel team make decisions while design changes are still manageable.
Set the questions for each build
An appearance model may test scale against a headboard or wall. An engineering sample should address fixing, cable route, driver location, thermal path, moving joints and switch response. An optical sample tests the intended LED, lens, diffuser and aiming. A pre-production sample checks whether the chosen materials and processes reproduce the approved design. Combining every question in one rushed build makes it hard to know which deviation caused a problem.
Write acceptance criteria before each sample is ordered. For a bedside light, specify the proposed mounting position, pillow and book locations, control sequence, visible finish and service access. Identify who judges each criterion. A designer may approve proportion while an electrical reviewer still has open questions about protection or wiring. Record these decisions separately.
Test in the built context
Place the prototype in a furnished room with the intended mattress, headboard, bedside furniture and wall finish. Ask a reviewer to read, turn the light off in darkness and move around the bed. Observe glare at both pillows and whether the fitting blocks a hand or charger lead. Check any vibration or play in a flexible arm after normal adjustment. A sample on a bench cannot reveal every guest interaction.
Take measurements when the project brief requires them, using a defined method and instrument. A photograph of a light pool is not a photometric report. If the sample does not use the final LED, optic or driver, mark any illumination conclusion as provisional. The room prototype specification guide covers the wider room approval programme.
Close the iteration loop
For each issue, write the observed condition, proposed change, owner and retest needed. A change to mounting height may solve page coverage but expose the emitter to the adjacent guest. A different diffuser can improve visual softness yet alter output or colour. Recheck the affected task instead of declaring the revision complete because the part fits. Keep photographs tied to sample IDs and drawing revisions.
Request updated drawings and a bill of materials after a meaningful modification. Confirm whether new safety or performance assessment is required for the intended market. A laboratory report for the earlier build may not cover a revised driver or integrated charger. The supplier should identify which components are production-intent and which are temporary prototype substitutions.
Approve the right object
The final approval sample should match the intended visible finish, construction, optical and control configuration. Compare it with the approved drawing, installation instructions and required evidence. Record accepted deviations and any remaining conditions before release. Retain the physical sample in a way that later production lots can be compared with it. The custom sample approval guide gives the sign-off checklist.
Plan one early production comparison after the prototype stage. A handmade sample can conceal process differences in edge quality, joint alignment or coating. Ask the supplier to show how routine inspection will catch those differences and how changes will be communicated. The process succeeds when each prototype reduces a named uncertainty and the final record describes the unit actually ordered.