
Quick answer
Review laser-cut parts after forming and finishing for safe edges, apertures, alignment and room appearance.
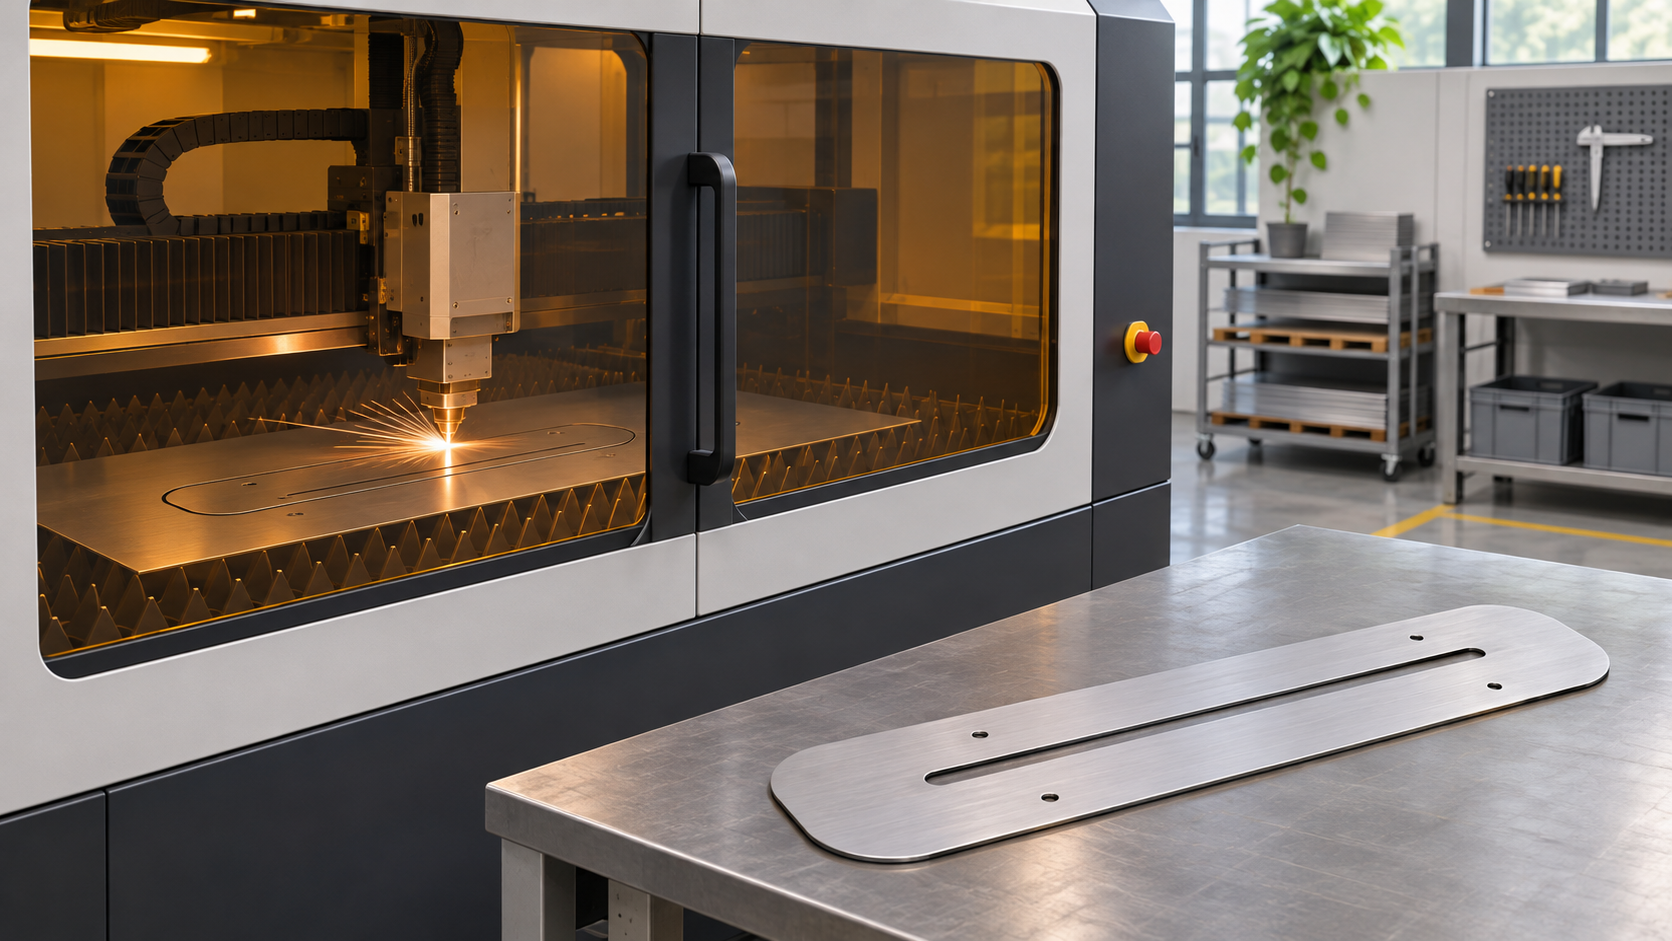
Laser cutting for hotel lighting fixtures is a possible way to make flat metal parts, apertures, brackets or decorative patterns from a digital design. It can define an outline accurately, but cut quality, edge condition, material selection, forming and finish still determine whether the part works in a luminaire. A laser-cut panel is not the finished fixture. The project should inspect physical parts and the completed assembly for safe edges, appearance, light leakage, mounting and cleaning. This article describes a general process and does not claim any particular MYDE model uses laser cutting.
Choose the process for the geometry
Flat patterns and repeated openings may be natural candidates, especially when a design needs multiple similar parts. A solid sculpted joint or deep optical seat may need a different method. Ask the supplier for a process proposal that identifies material grade, sheet thickness, cut path, edge treatment and any subsequent bending or joining. Do not assume the final folded dimension from the flat drawing alone; bend allowances and assembly tolerances must be verified in a sample.
Where a decorative perforation is intended to emit light, test it with the actual LED and diffuser. The pattern may create uncomfortable bright points, unexpected shadows or visible interior wiring. A digital rendering can miss these effects. View the sample from the bed and normal room approach, both with ambient lights on and off.
Inspect the cut edge
A cut edge can have burrs, heat effects or surface marks that matter to touch, paint adhesion and cable safety. Specify which edges are exposed to guests, which contact wiring and which are hidden but still need deburring. Review minimum bridge widths and the strength of fine details after forming. A thin decorative pattern that survives a sample may distort during handling or cleaning if not supported appropriately.
The engineer should check how the part attaches to the rest of the housing. Small hole-position errors can make a panel pull out of alignment when screws are tightened. If light leaks through a joint, the solution may require a gasket, diffuser or different assembly detail rather than a more precise cut alone. Document the accepted first article after all forming and finishing, not just the raw sheet.
Coordinate finish and production
Powder coat, plating or another treatment may change appearance at cut edges and corners. Choose the actual finish through a physical reference sample and define cosmetic acceptance under relevant room light. Ask how scratches, oxidation and fingerprints will be handled before coating. A supplier should state how it protects delicate patterns during packing and transport. The finish consistency guide explains how a reference sample controls later lots.
If a laser-cut part is replaced with stamping or another process for volume, compare the new edge, aperture geometry, finish and assembly fit against the approved sample. A process substitution can change visible detail even if the outer dimensions remain similar. Retest the optical effect if the part controls or reveals light.
Questions for a prototype review
- Are all touch and cable-contact edges safe after finishing?
- Does the formed part align with the housing and mounting holes?
- Are apertures comfortable to view from guest positions?
- Can housekeeping clean the pattern without bending it or catching cloth?
- Does the production sample represent the proposed routine process?
The CNC machining guide describes a different part-making option. Select and approve each process against the actual geometry and room use, then keep its inspection requirements with the released drawing.