
Quick answer
For a surface-mounted reading light, confirm the fixing substrate, backplate drawing, cable entry and exact connection method before drilling. Test a sample at the intended pillow position, then record the approved bracket and electrical detail for every room.
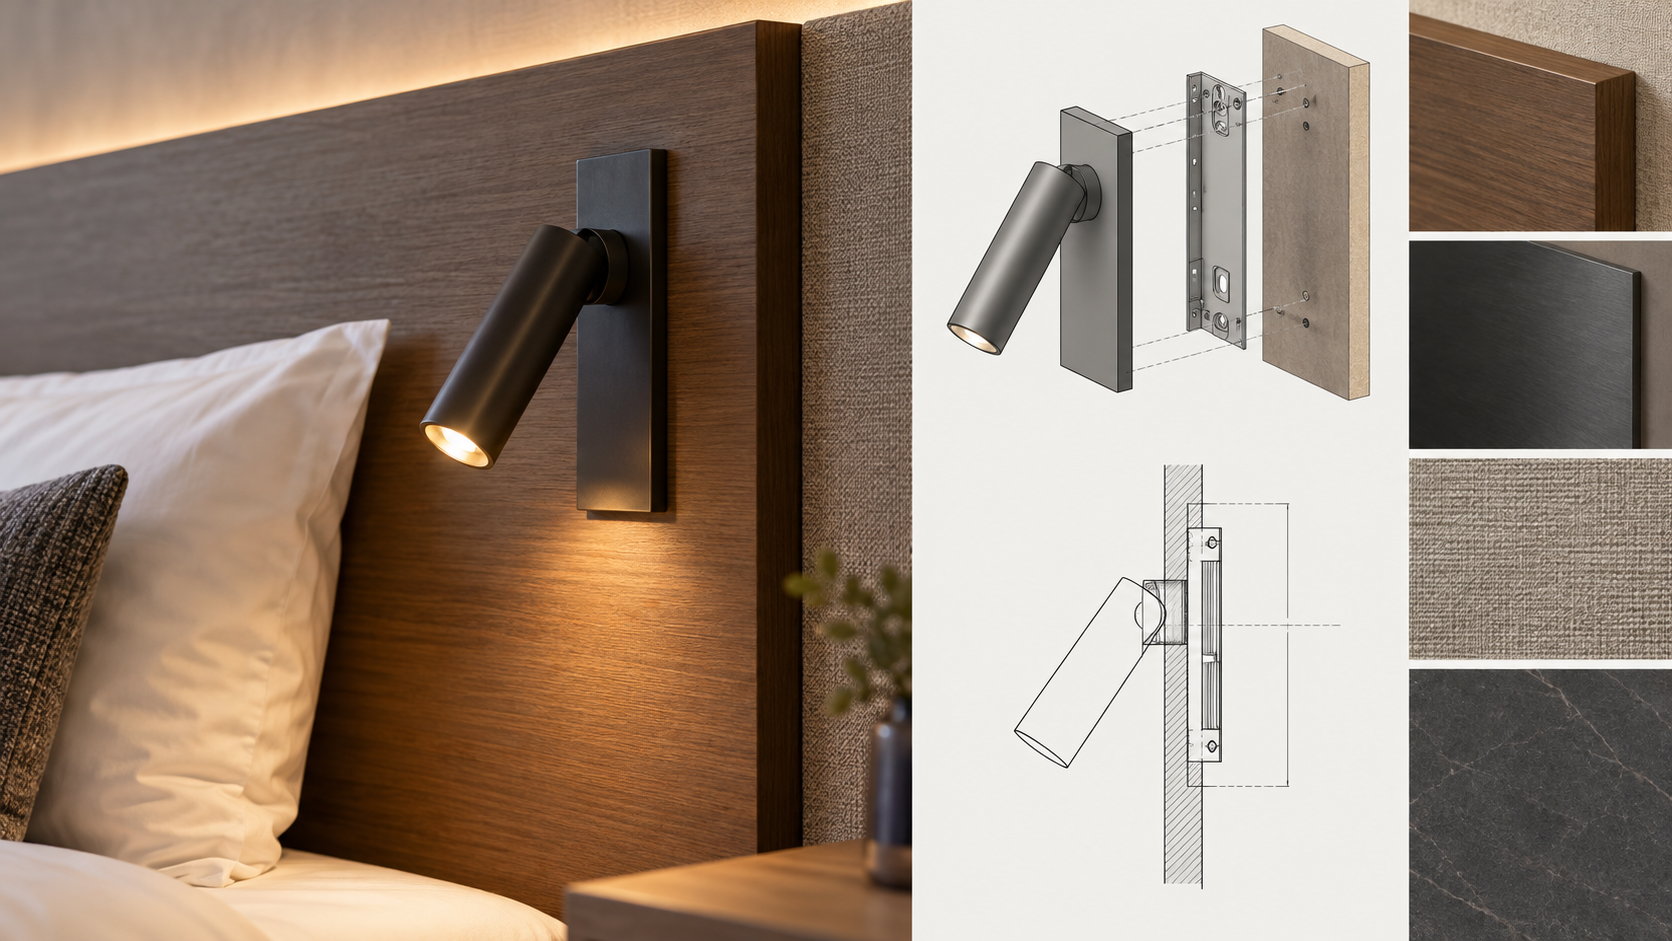
Surface-mounted reading light installation depends on a sound fixing surface, the exact backplate and a coordinated electrical entry. Before drilling, confirm the selected model's instructions and measure the actual pillow position. A surface fitting avoids a recessed body, but it can still fail if its bracket sits on soft upholstery, the cable entry is hidden or the switch falls behind a pillow.
Survey the proposed surface
Identify whether the fitting will attach to a solid wall, joinery panel or upholstered headboard. Mark the load-bearing backing, finish thickness and any concealed services. A decorative facing alone may not support repeated guest adjustment. Ask the headboard maker for the substrate detail and the product supplier for the exact bracket and fixing pattern.
Check the available space in front of the surface. Include the head at its widest movement, not only the faceplate. A projecting arm should clear pillows, bed-making and a guest's normal route. The sample should show both its reading position and the position in which it will usually be parked.
Match the model to the controls brief
The MD-WL-Y003 surface-mounted reading light is documented with a 3 W head, physical toggle, USB-A port and non-dimmable reading function. A room schedule that requires dimming would need a different confirmed configuration. Do not assume that a separate dimmer can be added without the manufacturer's approval.
Confirm whether the bracket uses a concealed electrical connection and how the supply enters it. The product's exact installation instructions and local electrical rules govern the connection; this article is a coordination checklist, not a wiring procedure. If the wall surface is upholstered, detail a protected opening and structural backing before mounting.
Install one sample at bed height
The qualified installer and joinery team should fit one representative unit with the proposed fasteners and substrate. Test it from the bed with a book. Can the head aim without loosening the bracket? Can the guest find and operate the switch? Does the USB cable, if present, create a conflict with reading or the nightstand?
Look at the wall from the doorway for alignment and finish, then from the neighbouring pillow for glare or spill. Ask housekeeping to assess cleaning access. Remove and refit the sample according to the manufacturer instructions to confirm a realistic service route.
Record the repeat detail
The signed package should show mounting centreline, backing, bracket, cable entry, control behaviour and exact product variant. Keep the approved sample and a photograph with the drawing. If a substitute bracket or headboard material is proposed later, test it again rather than assuming the original fixing remains valid.
The recessed installation guide covers the separate problem of cavity and cut-out. For either mounting type, obtain the exact instructions before site work and let qualified trades perform electrical installation.
If the project has more than one headboard material, make a sample on each distinct substrate. A fastener that worked in plywood does not automatically work in masonry or a thin decorative panel. Record the approved fixing by room type and have the installer check the substrate encountered on site.
