
Quick answer
Freeze the bed and pillow geometry first, then coordinate the fitting body, panel detail, cable route and removable access before joinery fabrication.
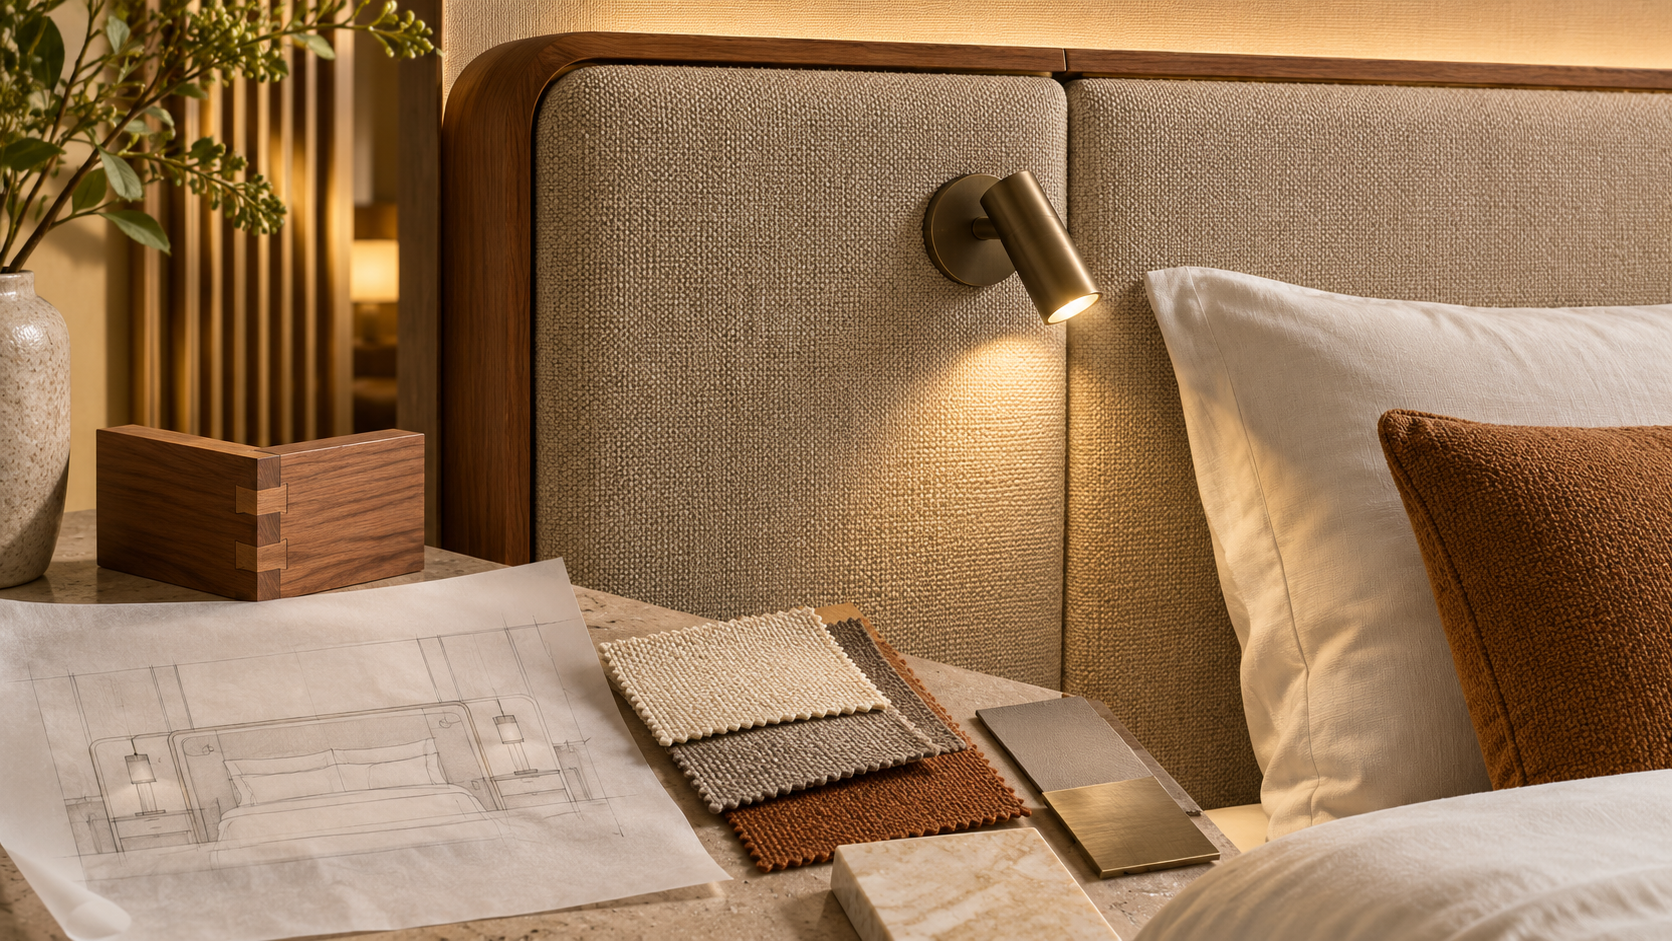
To coordinate bedside lights with headboard design, freeze the guest's reading position before the headboard pattern. The pillow, mattress height and likely book position establish where useful light must land. The panel material, seams and thickness then determine whether the chosen fitting can be supported, wired and serviced. If the light is selected only after the joinery drawing is complete, a clean front elevation may conceal an impossible cut-out or inaccessible driver. Bring the interior designer, joiner, electrical designer and fixture supplier to the same drawing review early.
Set the reading geometry before the decorative grid
Draw the finished bed, pillows and side table at actual dimensions. Mark the seated eye line and book plane for each guest. Place a sample light against that geometry, then inspect the parked and aimed positions. A symmetrical headboard pattern may put a fitting too close to a seam or too far from the book. Adjust the pattern or fitting before fabric is ordered.
Check the neighboring pillow for visible source and spill. A headboard that changes depth across its width can alter the beam and hand reach. The bedside reading light distance guide gives a separate method for the horizontal offset; the present task is the full design interface.
Choose a mounting strategy the panel can carry
A recessed head needs verified cut-out, depth, edge clearance and a service route. The documented MD-WL-Y135 is a recessed adjustable 3 W reading head. Its overall dimensions are not permission to infer a cut-out. Request the current installation drawing for the exact variant before machining any panel.
A surface-mounted option may avoid a deep cavity, but it still needs a secure fixing surface and compatible cable entry. The documented MD-WL-Y003 is surface-mounted and has a physical toggle. Neither mounting format should be assumed suitable for upholstery, thin veneer or a curved headboard without a sample assembly and structural review.
Coordinate electrical and service access
On the shop drawing, identify the fitting, supply path, driver location if relevant, connection point and removable access panel. Confirm how upholstery can be removed without tearing a cable and how a component can be replaced after the room opens. Electrical methods and separation requirements belong to the qualified project electrician and the destination market's rules.
Do not let a furniture supplier and electrical contractor each assume the other provides the final connection. Write one ownership line for each interface. The headboard wiring route guide covers that cable-path handoff in more detail. Keep the architectural decision here: the visible design must accommodate a safe, maintainable assembly.
Approve the built headboard, not only the drawing
Build one furnished headboard with the proposed light. Check aiming, visual alignment, switch reach, fabric interaction and access to the rear compartment. Photograph the accepted face and the service side. Record the exact panel, fixture and control versions on the approval sheet.
If a finish, foam thickness or luminaire variant changes, repeat the affected checks. A sample that looked correct before upholstery may fail once the finished fabric and pillow are in place. Sign off the assembly before repeated headboards are fabricated, and give installers the accepted details rather than a marketing photograph.
