
Quick answer
Start a custom hotel wall light with a written room and product brief. Resolve ownership, drawings, electrical requirements and sample acceptance before tooling or repeat orders. Treat an attractive concept image as a starting point, not an approved production specification.
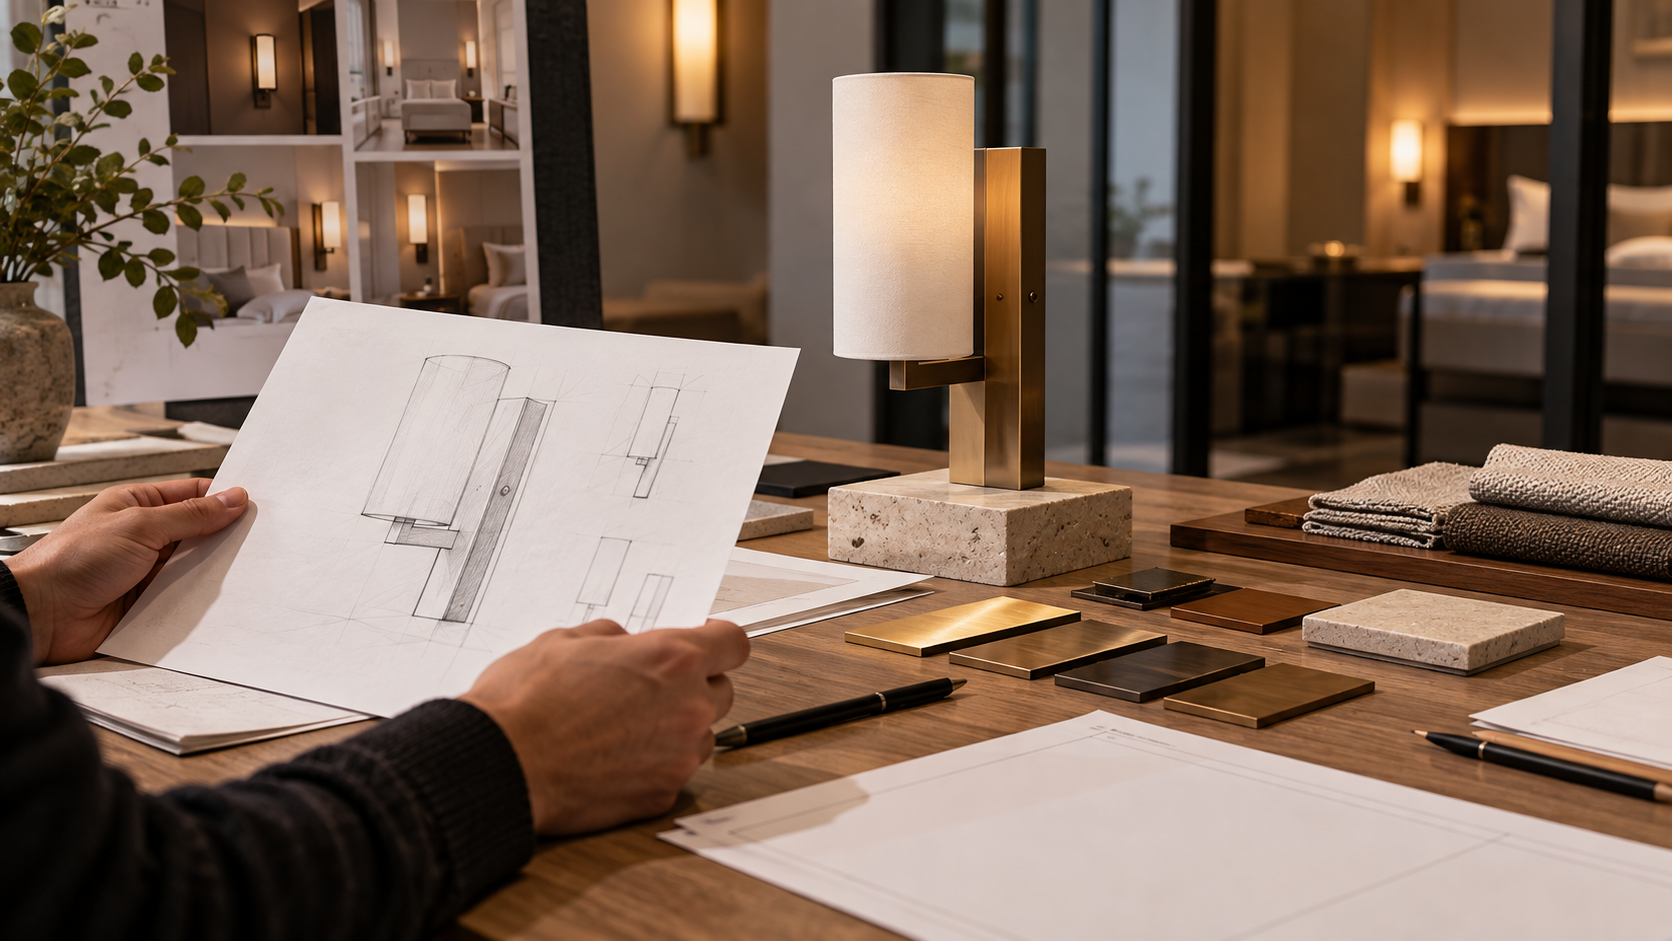
To develop a custom hotel wall light, turn the room concept into a controlled brief before asking for a production quote. Define the guest task, visual intent, mounting surface, electrical destination market and target service method. Then agree who owns drawings, prototypes, tooling, tests and final approval. A rendering may start the discussion; a signed sample and verified technical file should end the development stage.
Start with the room, not the silhouette
Provide a headboard elevation and section, bed and pillow dimensions, material palette, and the tasks the light must support. A decorative feature and a reading head have different optical and control jobs. If the product combines charging or dimming, write those functions separately. Identify the intended installation and cleaning conditions.
Ask the project lighting designer to set any measurable light criteria. Avoid commissioning a shape whose mounting depth or aiming position cannot meet the guest use. Use a room mock-up early enough that its findings can change the design before tooling is committed.
Assign design and ownership decisions
Record who supplies the original concept, who develops production drawings, who approves revisions and who owns any tooling or design files. “OEM” and “ODM” are used inconsistently, so write the responsibilities directly. The OEM versus ODM guide explains these commercial distinctions in more detail.
Set a revision system for drawings, finish samples and electrical components. A change to a driver, switch or connector can affect testing and installation even when the exterior looks the same. The purchase order should reference the accepted revision rather than only a product nickname.
Prototype in stages
An early appearance sample can test proportion and finish, but should not be mistaken for a safe working luminaire. A functional prototype needs the intended light source, controls, construction and mounting arrangement. Have qualified specialists review the electrical design and applicable destination-market requirements before field use.
Install the functional sample in the real room context. Test reading position, glare, reach, cable route, cleaning and removal. Collect comments from the designer, installer, procurement and operations teams. Record the changes and repeat the affected checks on the revised sample.
Define acceptance before repetition
The final approval package should include controlled drawings, exact materials and finish, electrical and control specification, market-specific evidence, installation instructions, a signed sample, inspection criteria and a replacement plan. Identify which documents remain pending and which stage they block. A beautiful sample does not cure a missing installation or compliance detail.
This article describes a prudent project development method. It does not assert that MYDE has accepted a particular custom design, owns tooling for it or holds a certification for a proposed product. Discuss the brief and evidence required for the actual project before making those commitments.
Allow time for a revised prototype after the room test. A change to the head angle, bracket or switch position can affect both the appearance and the technical file. Record the change reason, revision number, responsible approver and tests to repeat. Only the signed final configuration should become the production reference.